
A few notes on Organizational Units (OU). They are containers in Active Directory (do not confused with virtualized containers) used to organize objects such as users, computers, other OUs, etc. They are the smallest administrative unit in Active Directory. Group Policy Objects (GPOs) can be used to an OU to apply setting to all objects in the OU.
Groups are a different object in AD. They cannot be used for administration like applying GPOs. OUs can contain groups, but groups cannot contain OUs. Objects can be part of multiple groups, but only one OU.
Organizational Units are for creating an organizational structure, management, and administration. Groups are more used for permissions and resources.
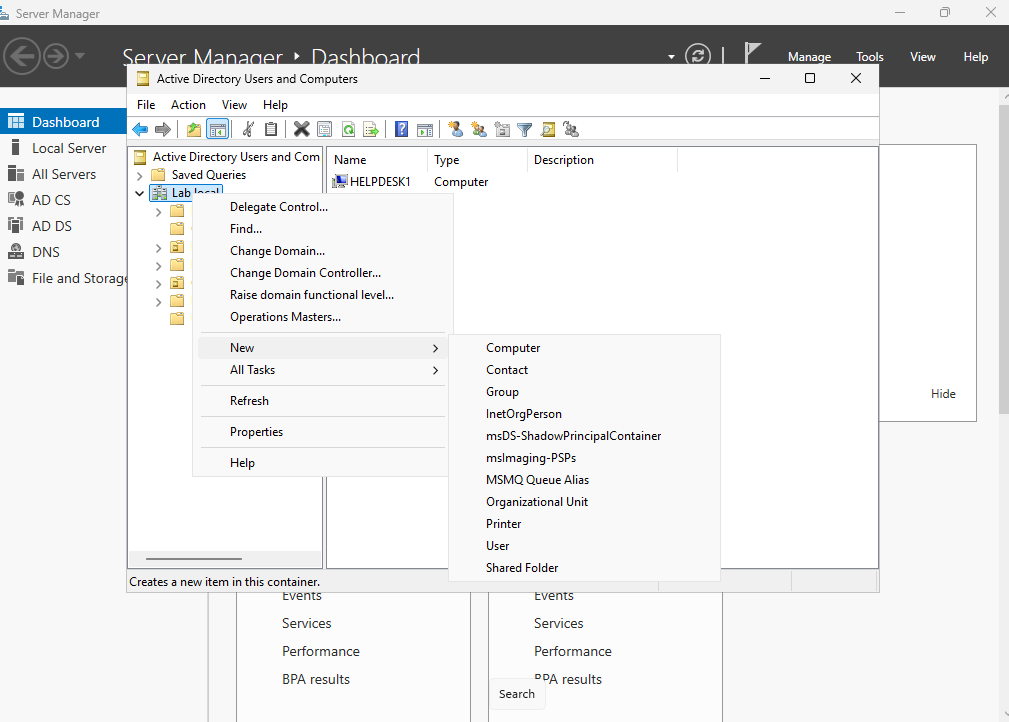
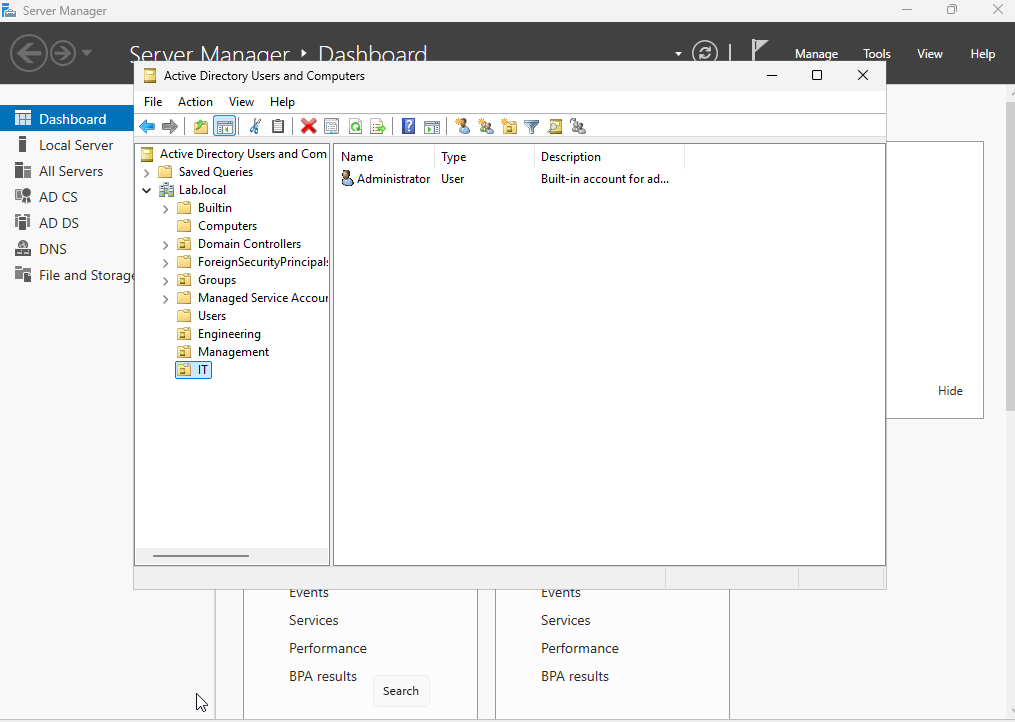
Lets login to our AD server. Once server management has finished loading, go under the users and computer tool. Right click on the domain, click new, and then click organizational unit. Create three different groups. I created an engineering, management, and IT OU.
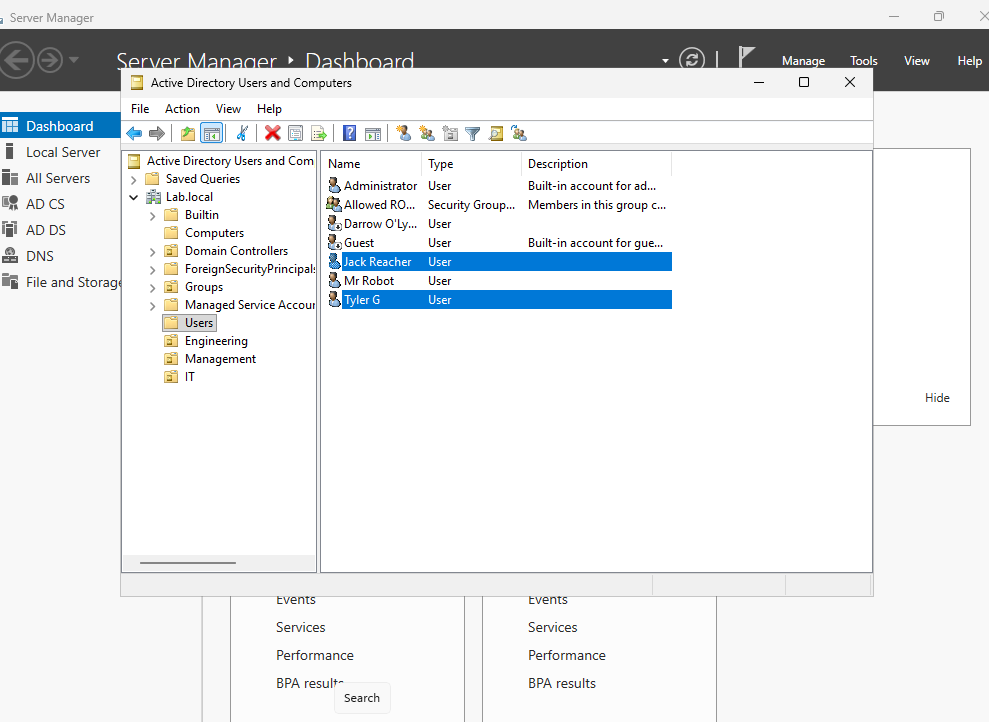
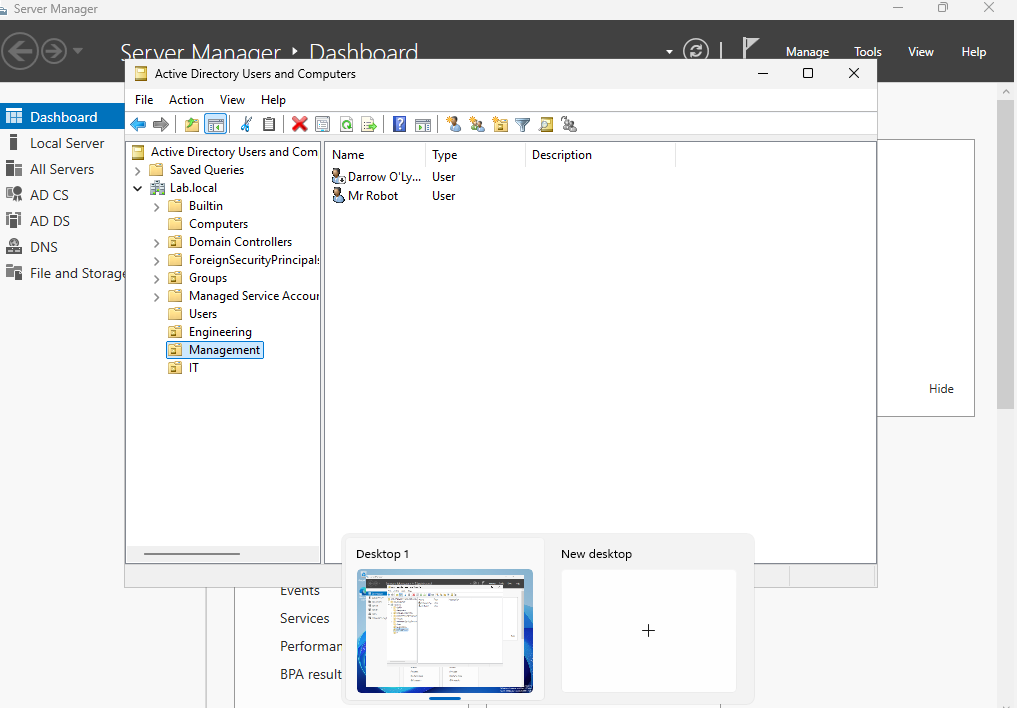
Once you have created these OUs, move the users that you created into the OUs you want them to be in. I moved Jack Reacher and Tyler G into the Engineering OU, Mr Robot and Darrow into the Management OU, and then Administrator into the IT OU.
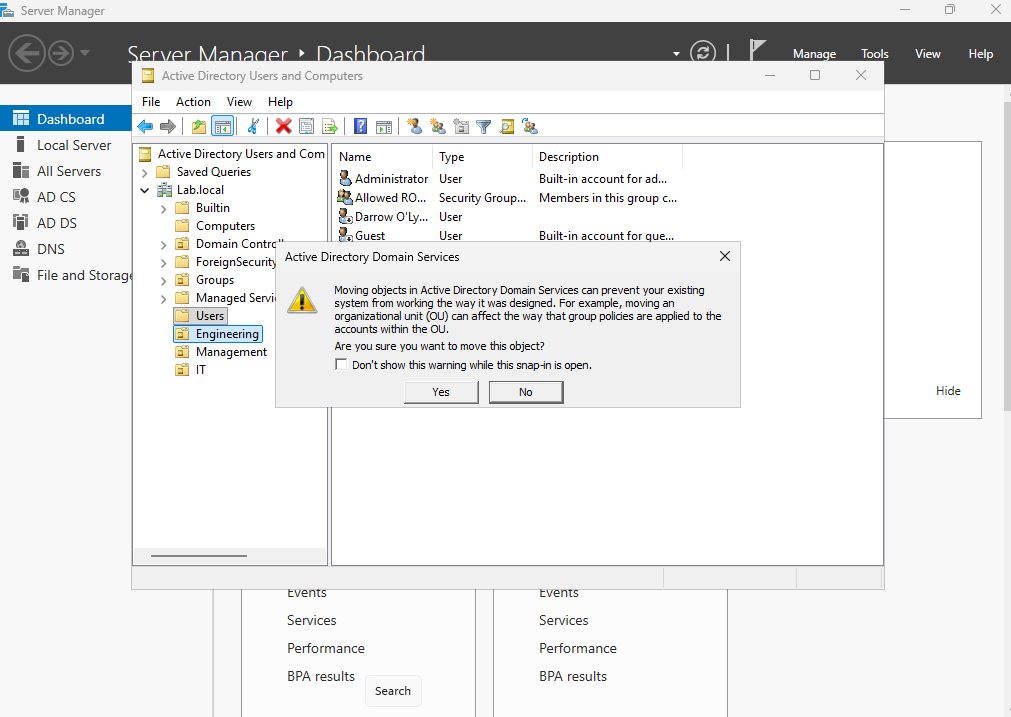
This warning will populate when you drag the users into a different OU.
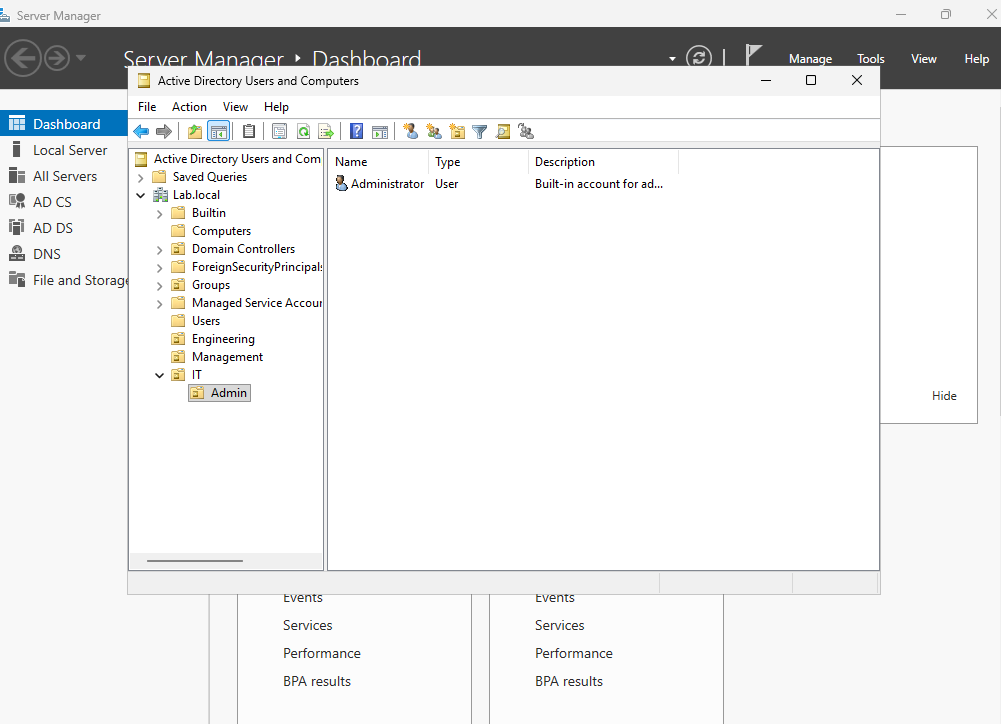
We can make another OU under the IT OU called Admin. Then we can move our Administrator account into that OU. This is so we can better protect and apply additional setting to our administrator accounts.
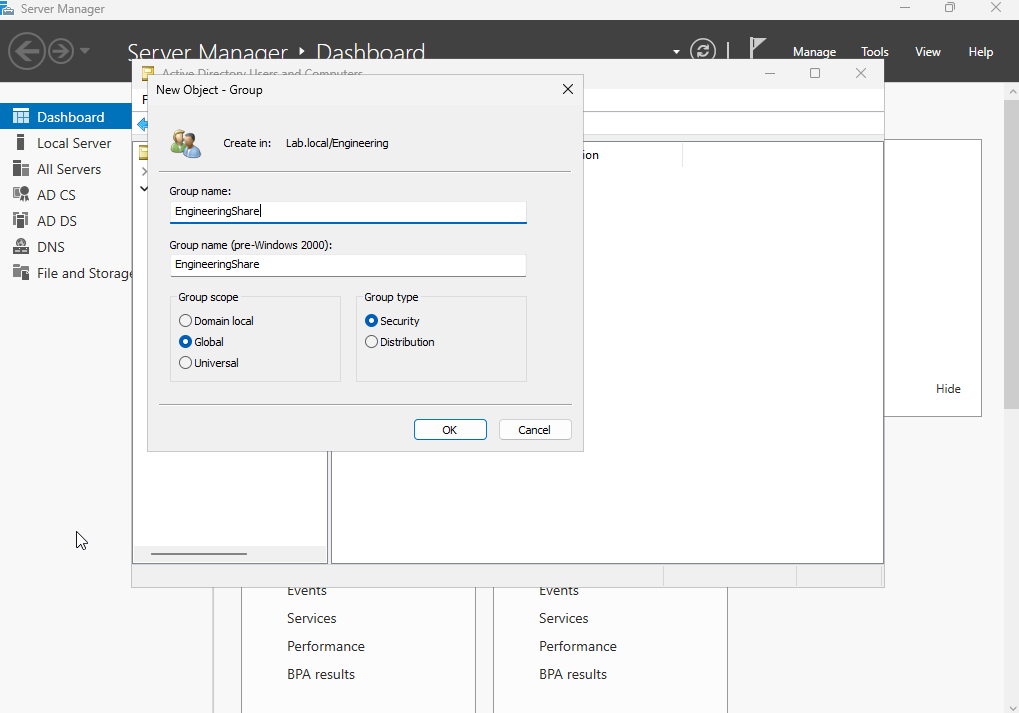
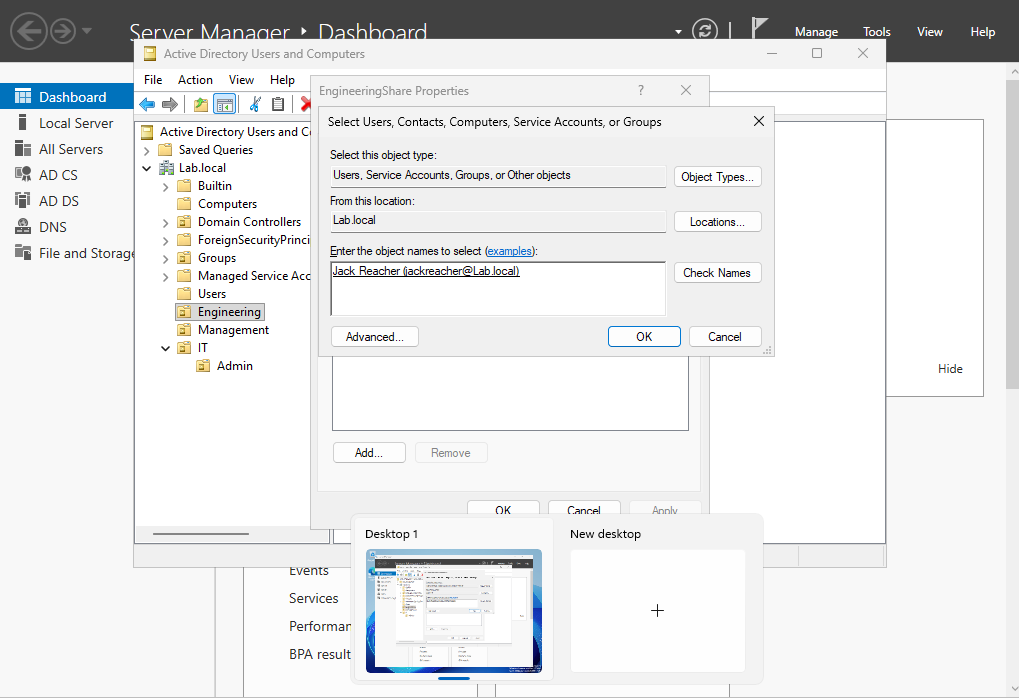
Next, lets create some groups. Right click on engineer, or whichever OU you want. Select new and group. Name the group. In this lab this is going to be used to assign permissions, so we will select “Security” for the group type. Note: Distribution Groups are used for email.

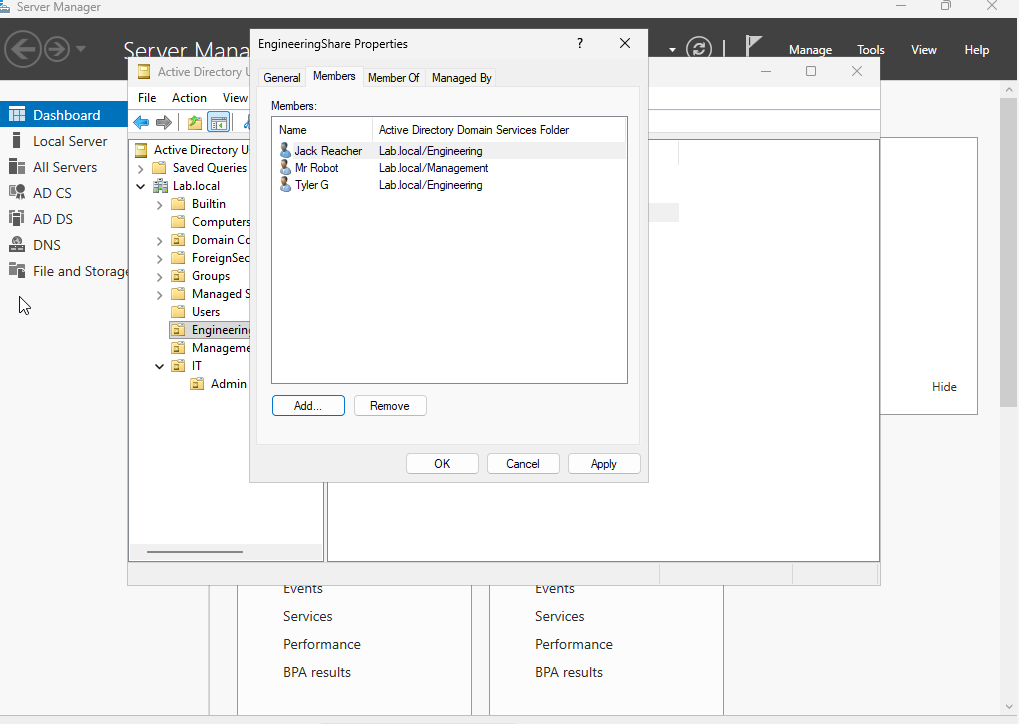
Double click the group you created. Then go to the “Members” tab. Select “Add…” at the bottom to add users.
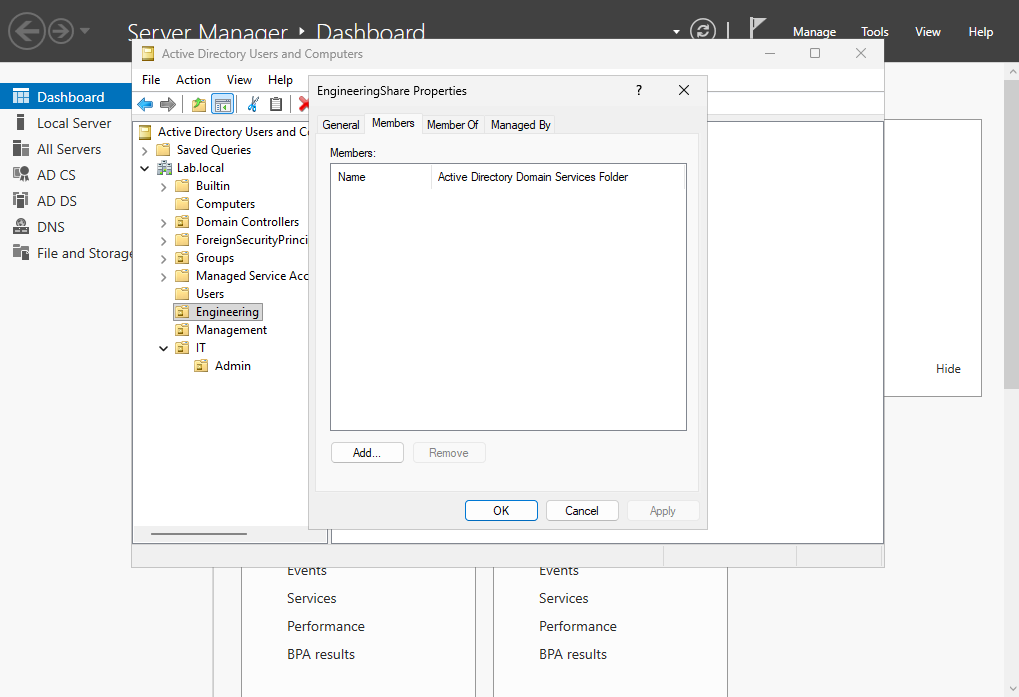
Type the name of the user you wish to add and then select the “Check Names” button. Then click ok.
I added both engineers to the group. I also add Mr. Robot, because he is in management and also needs access to the Engineering Share. This shows the we can include other users in OUs into groups.
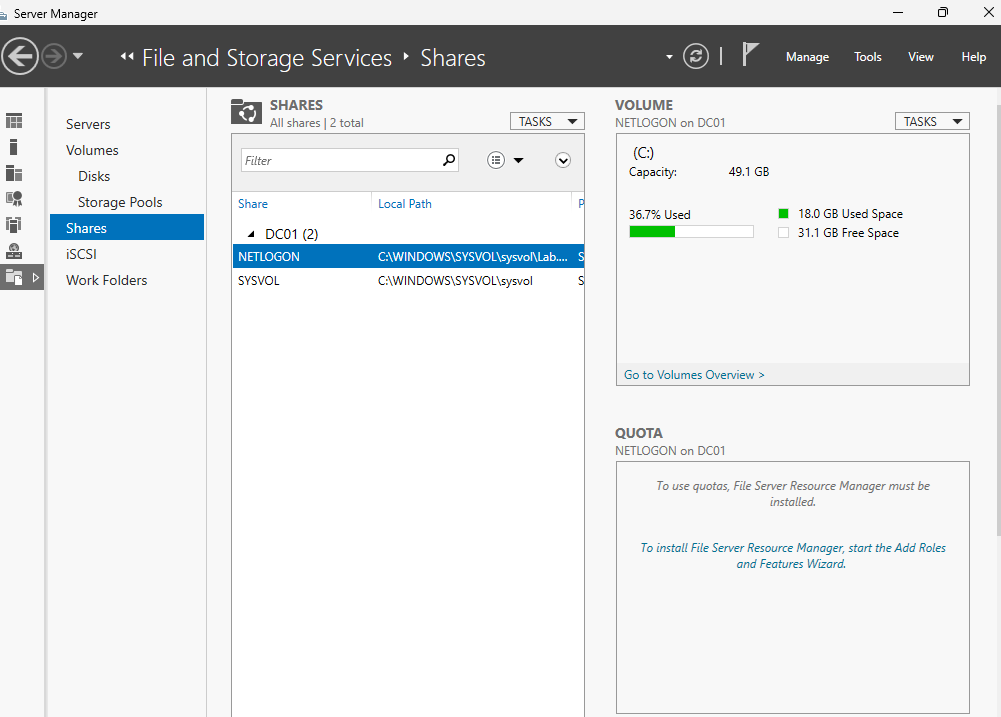
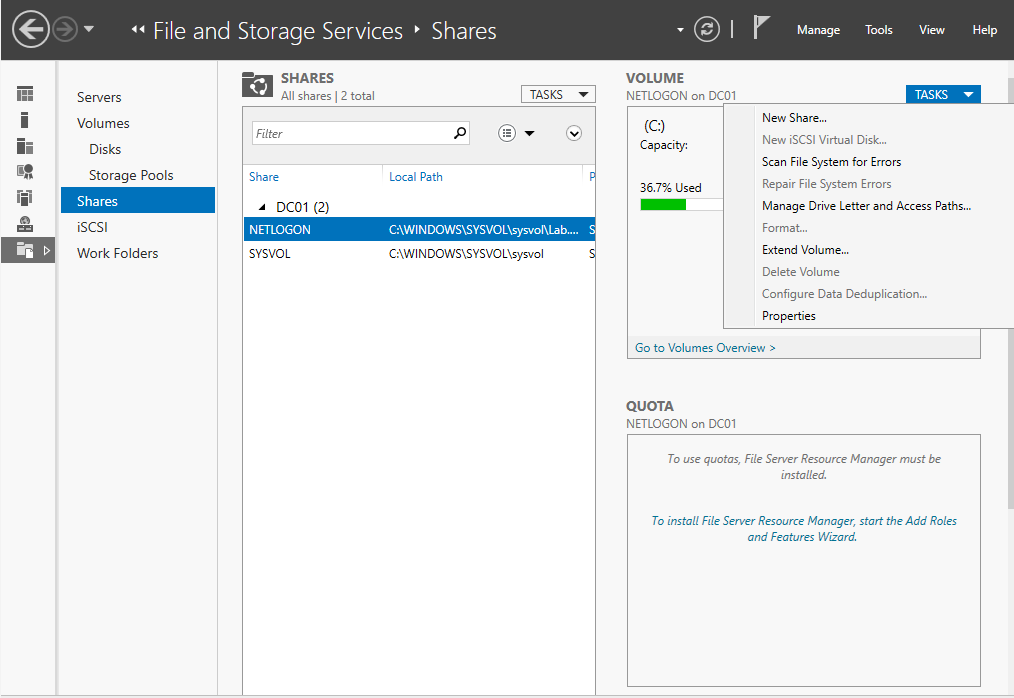
Go back to the Server Manager and select “File and Storage Services”.
Select “Shares”
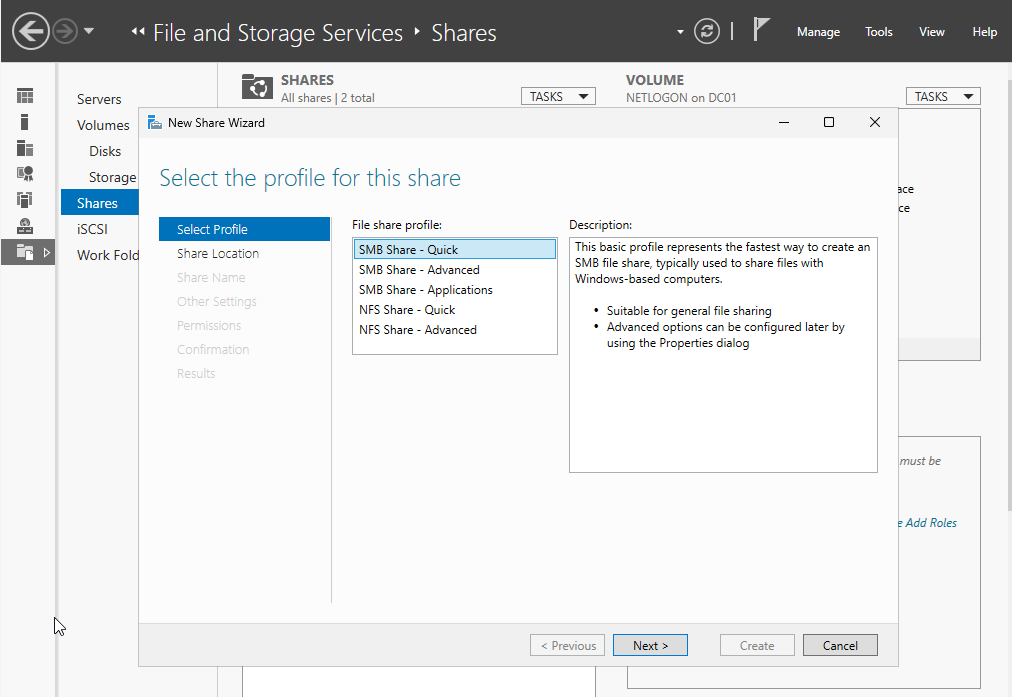
Select “New Share” under the “Tasks” menu.
I made this an SMB Quick Share.
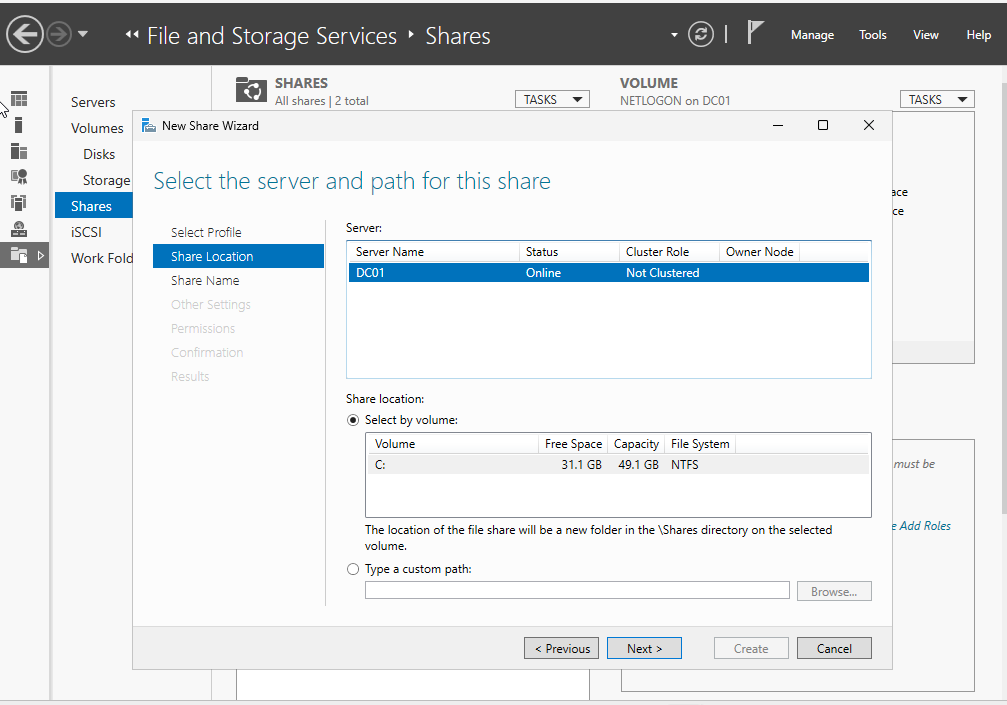
This is the location of the Share.
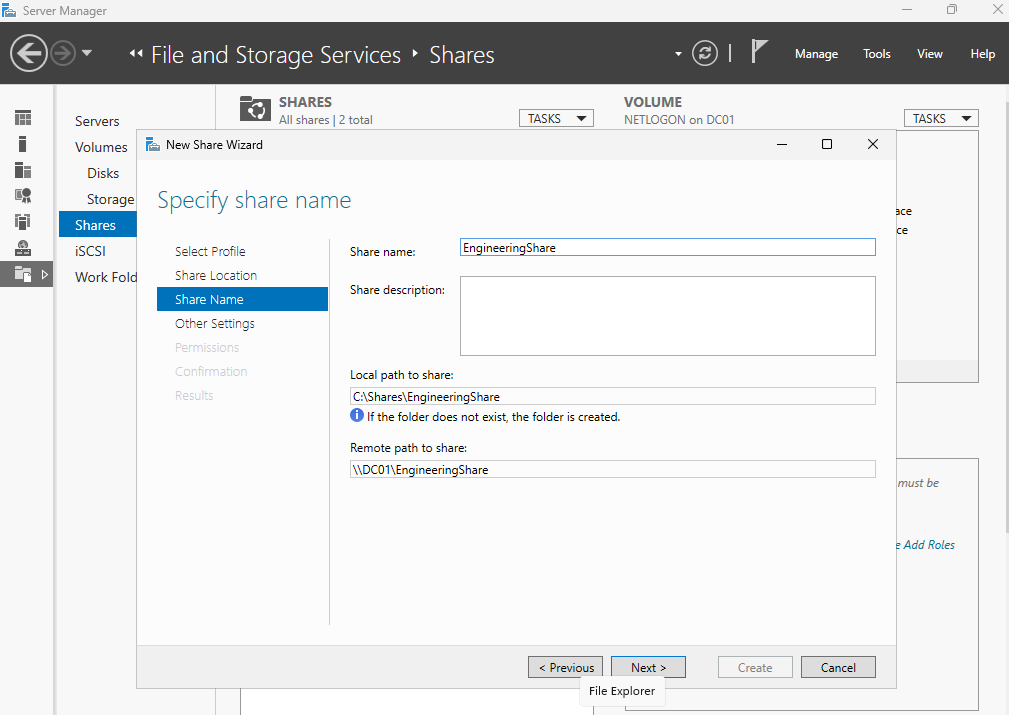
Enter the Share name.
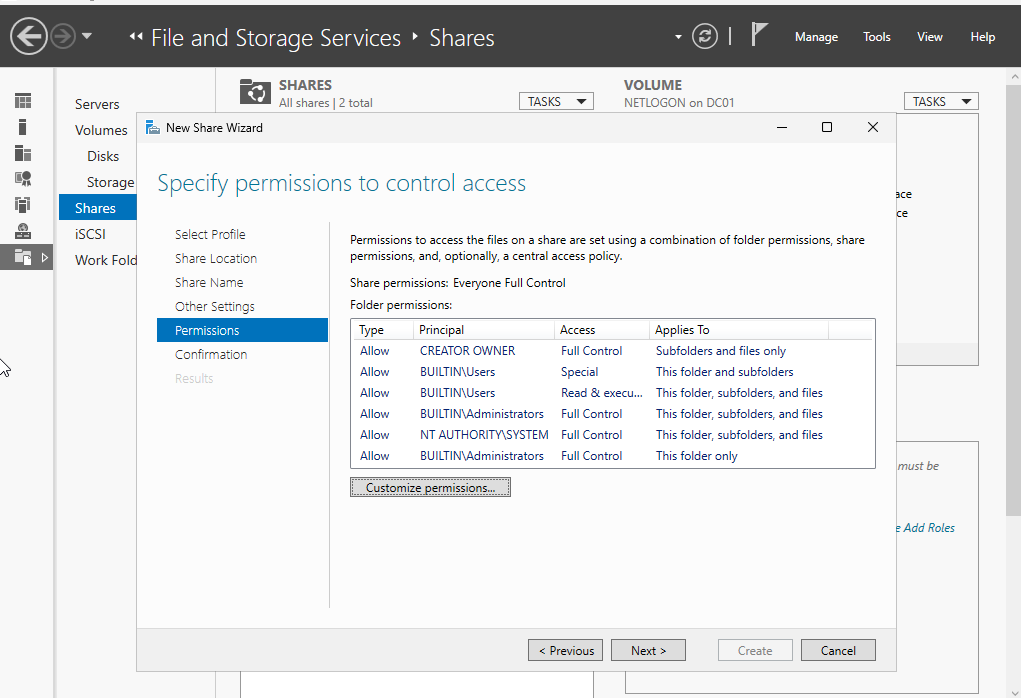
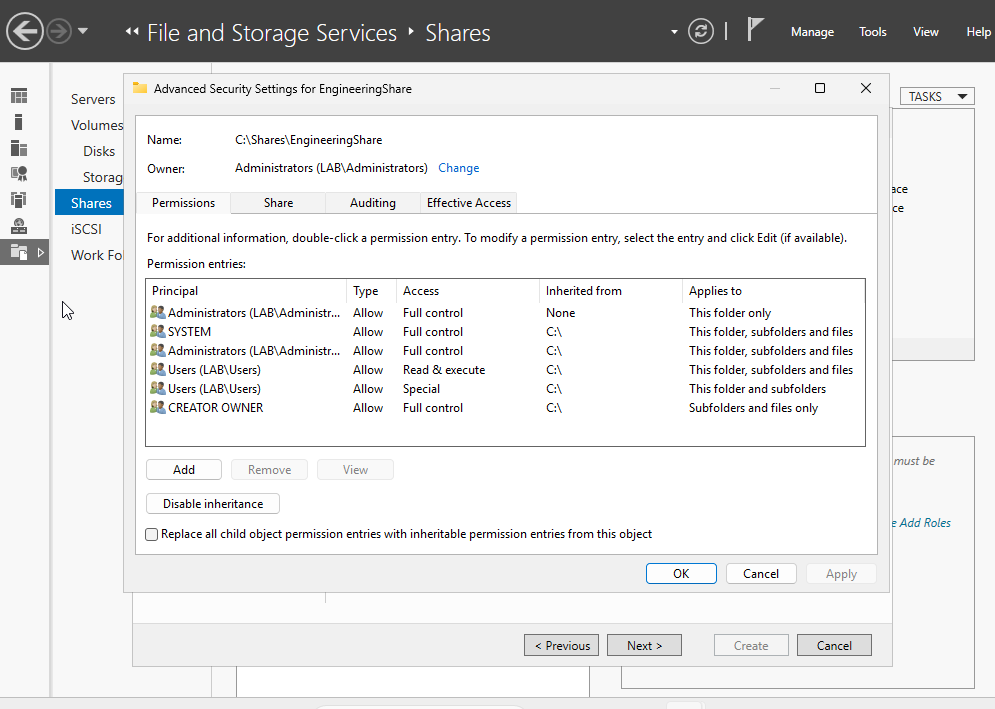
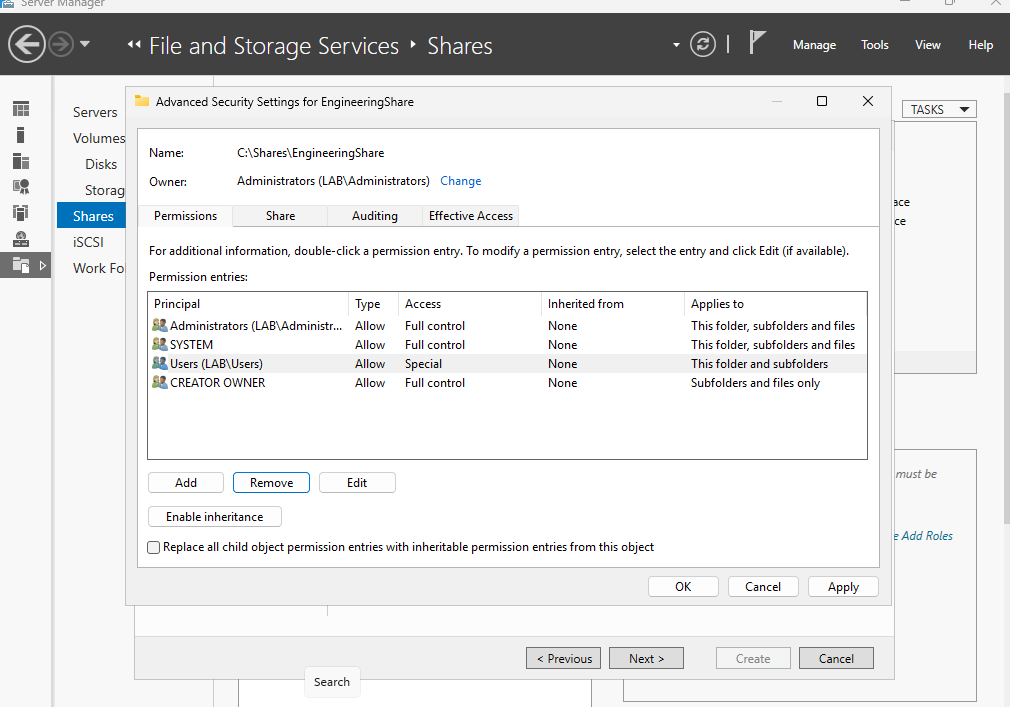
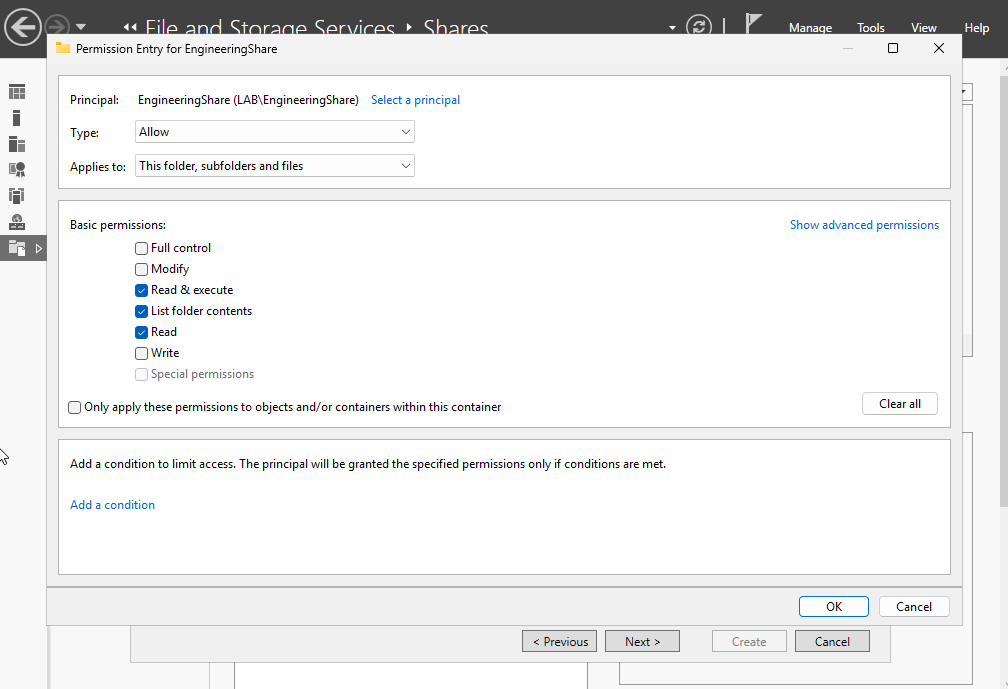
Now we have to modify the permissions of the Share. Currently “Users” have access to the Share. This will need to be changed. Select “Customize Permissions”
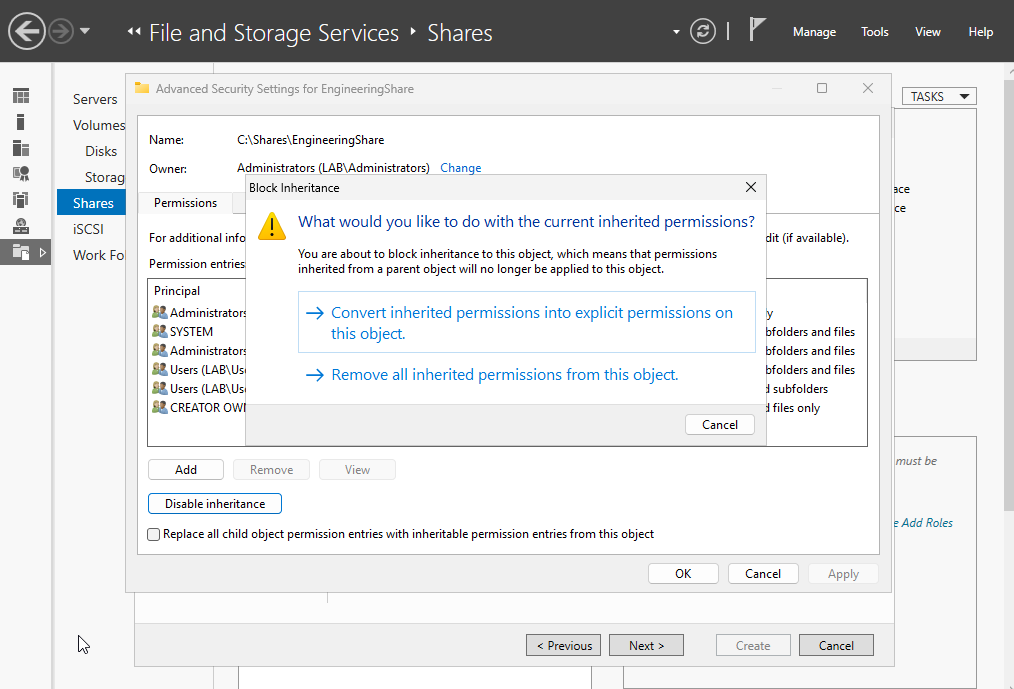
Select “Disable inheritance”
I selected the first option for this lab.
Next, select the “Users” and “Remove” to remove their permissions for the Share.
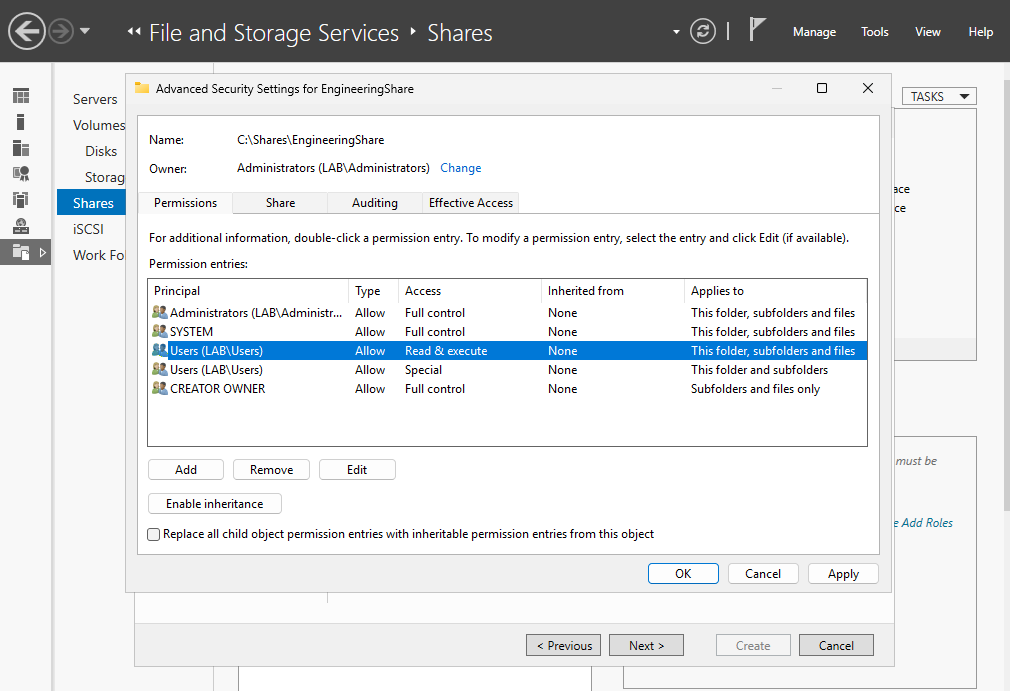
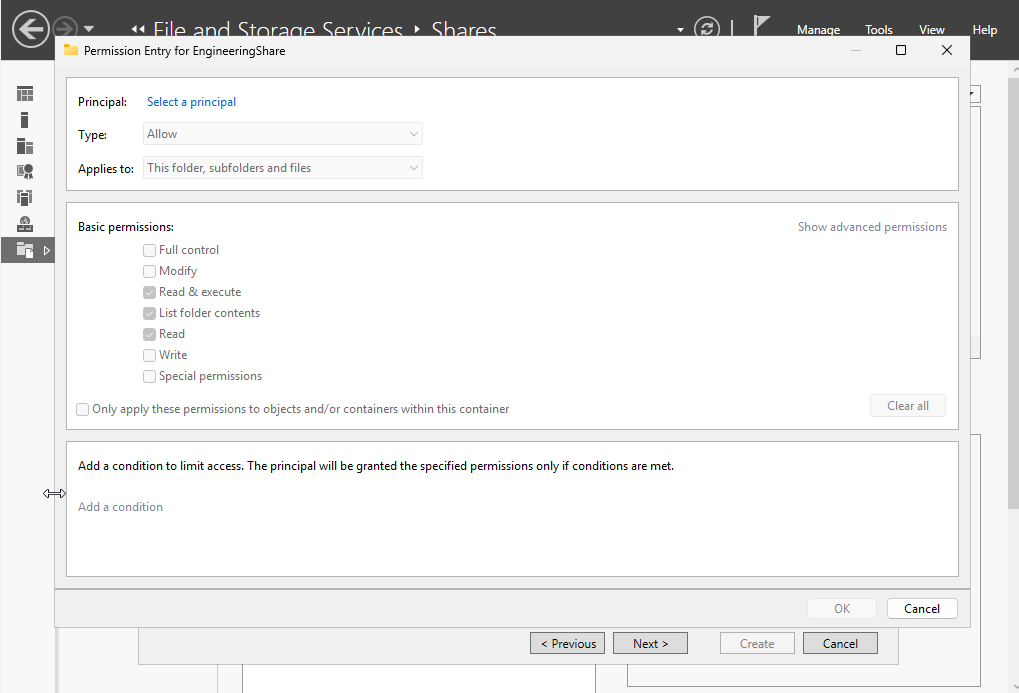
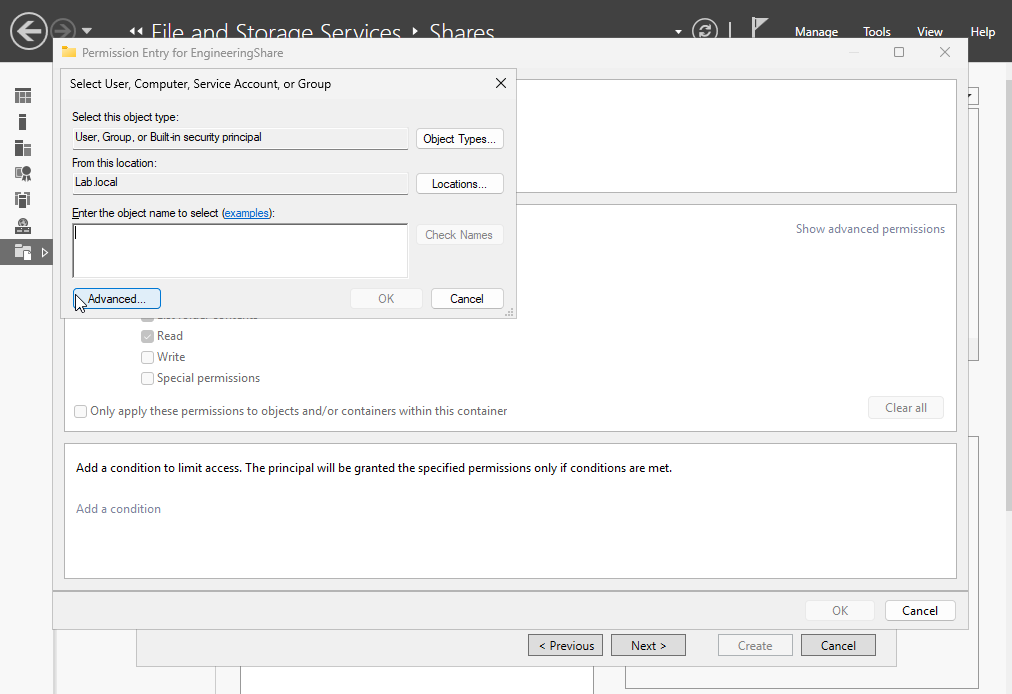
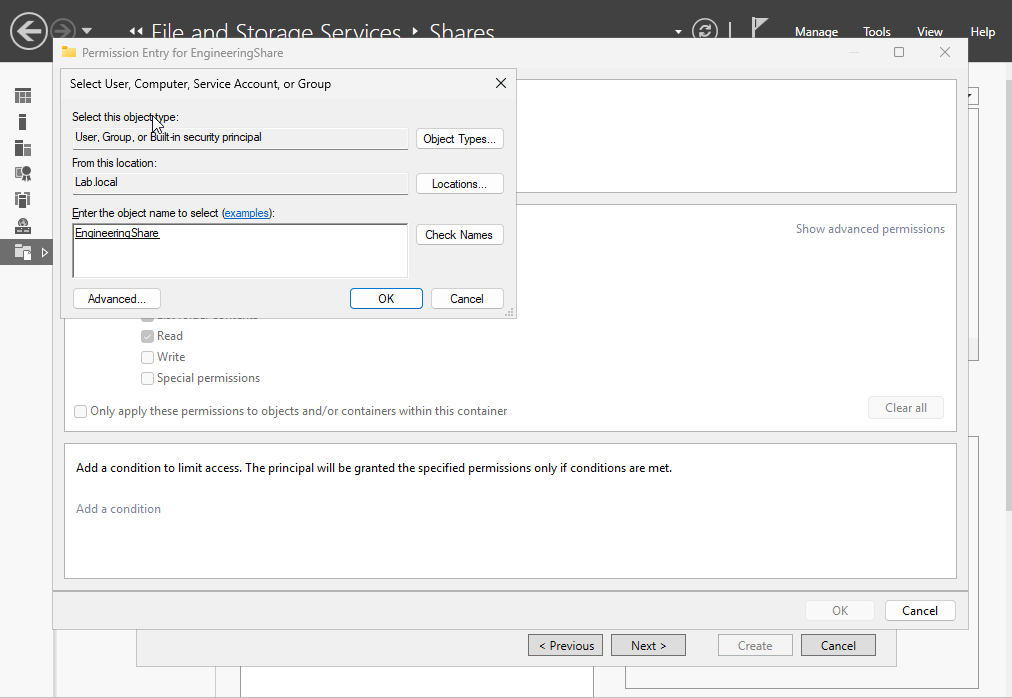
Select “Add”, “Select a principal”, and then enter the name of the Share.
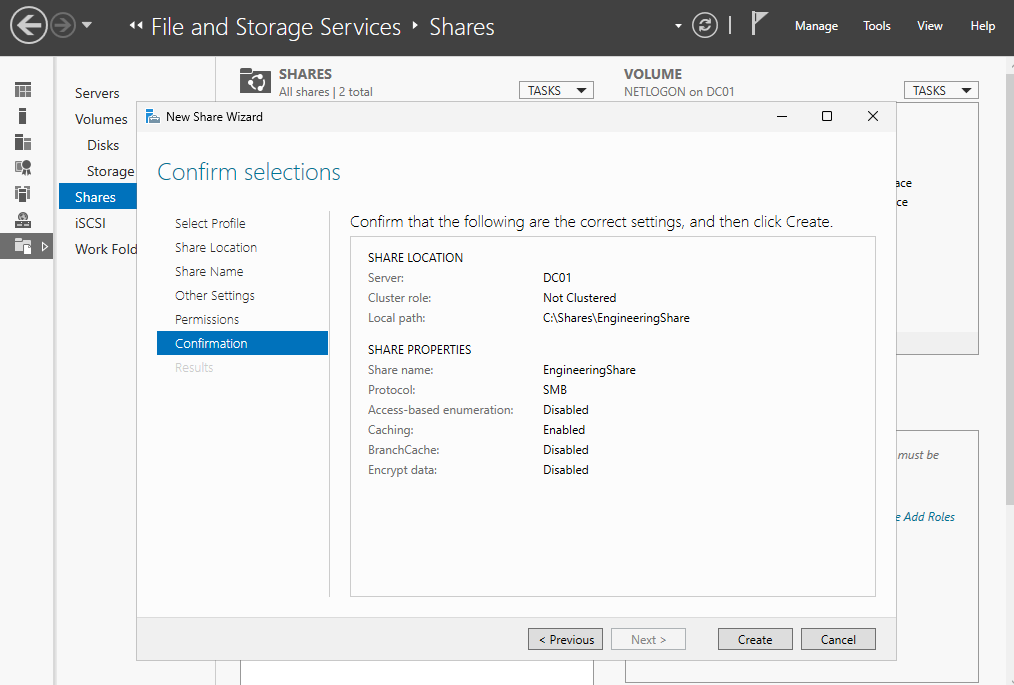
Confirm the setting, continue with default options, and create the Share. It will also require a restart.
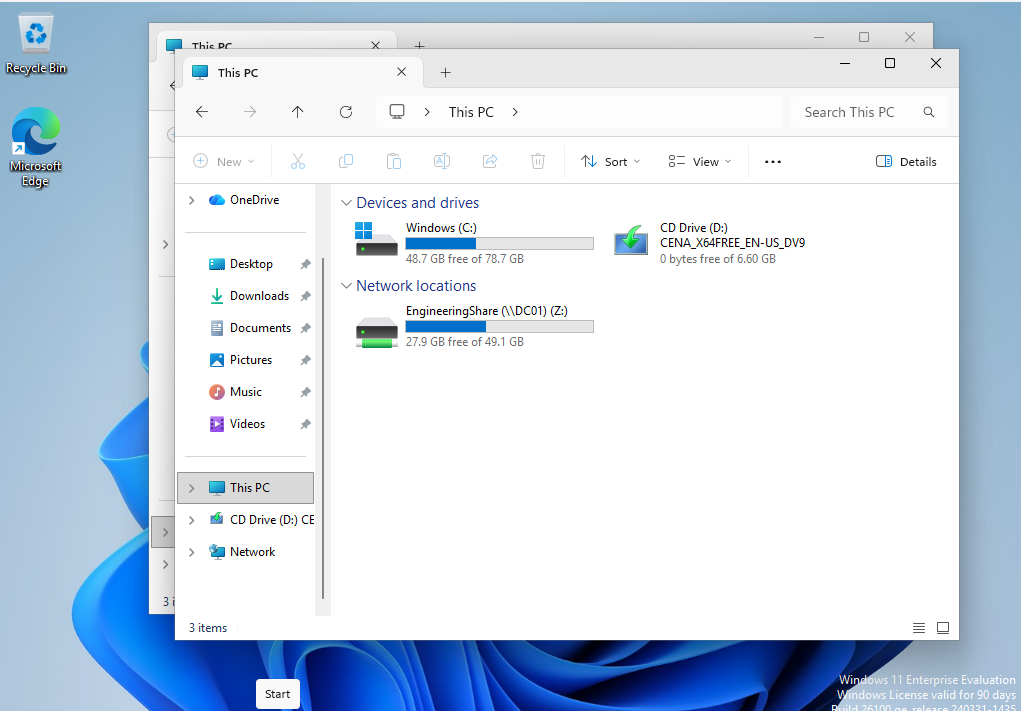
Go to the Windows VM and log into one of the engineering users. You can search the PC to find the Share. The location will look something like this:\\DC01\EngineeringShare
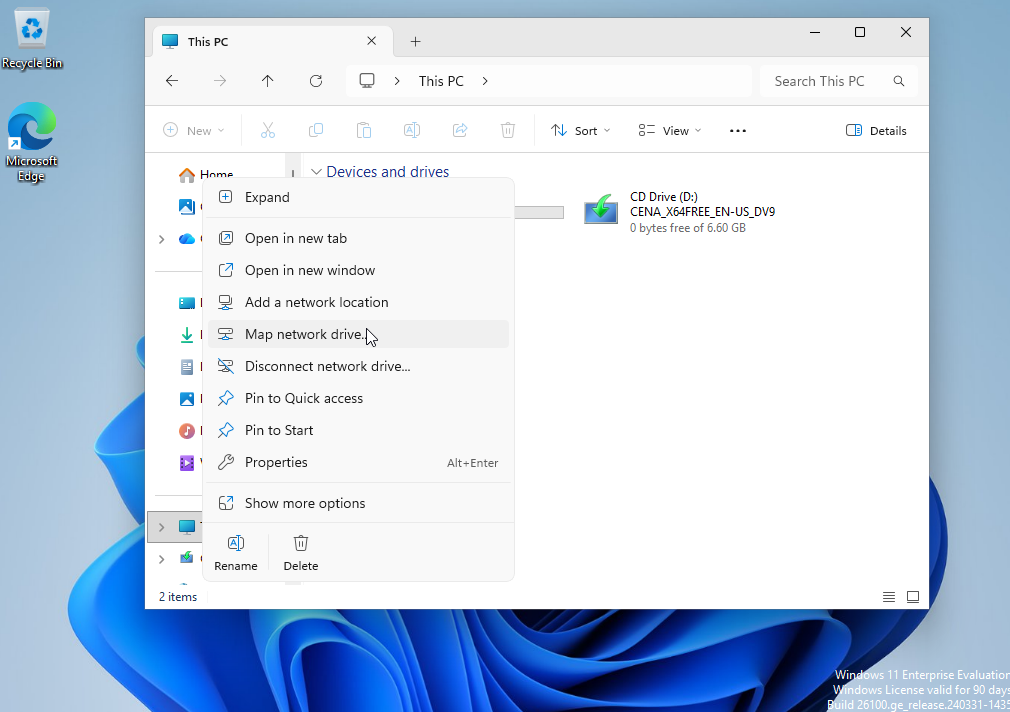
We can also map this share to the PC, so users don’t have to type the path of the Share. Right click on PC and select map network drive.
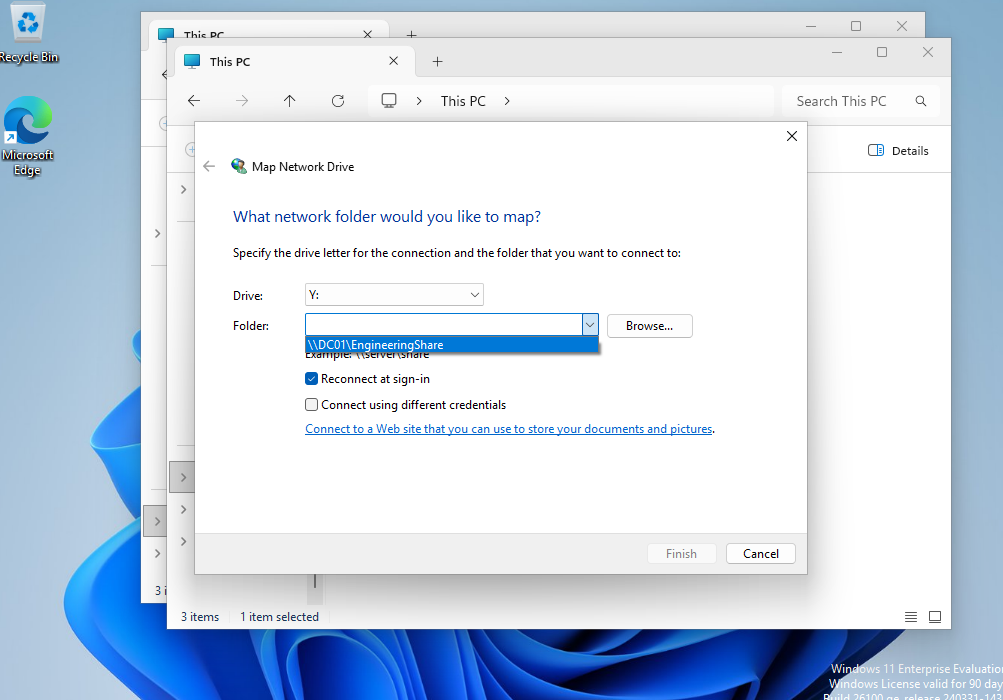
Type the path of the network drive and select finsih.
It should populate now under the network locations.
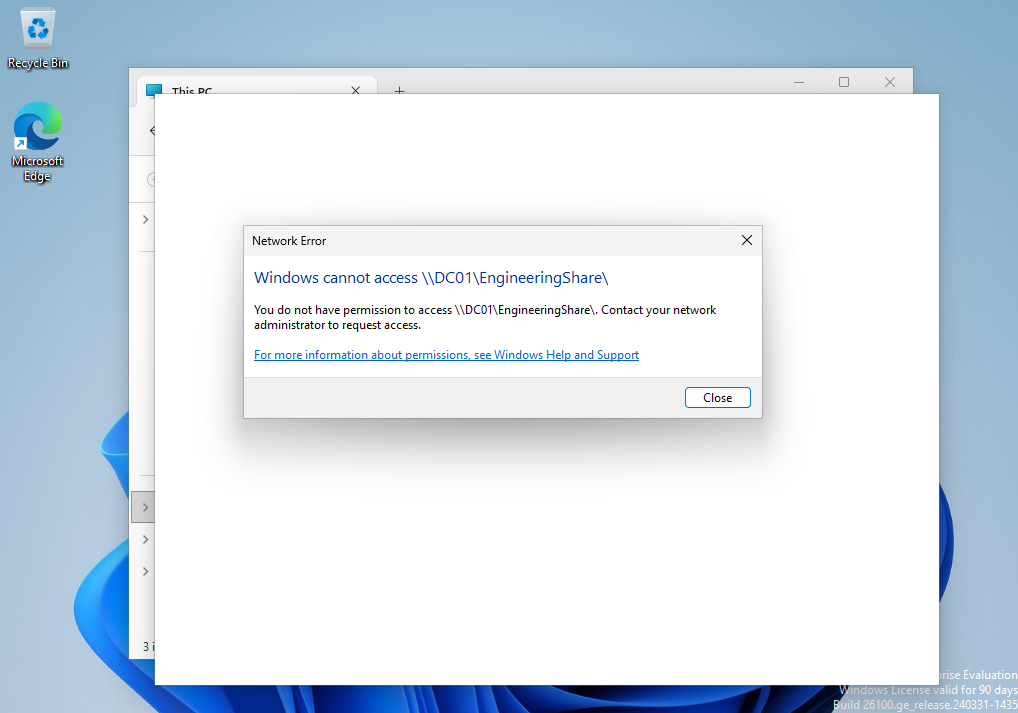
We can test permissions by logging into a user that does not have permissions to the Share, then attempt to access it.
Thank you! Please leave feedback!