
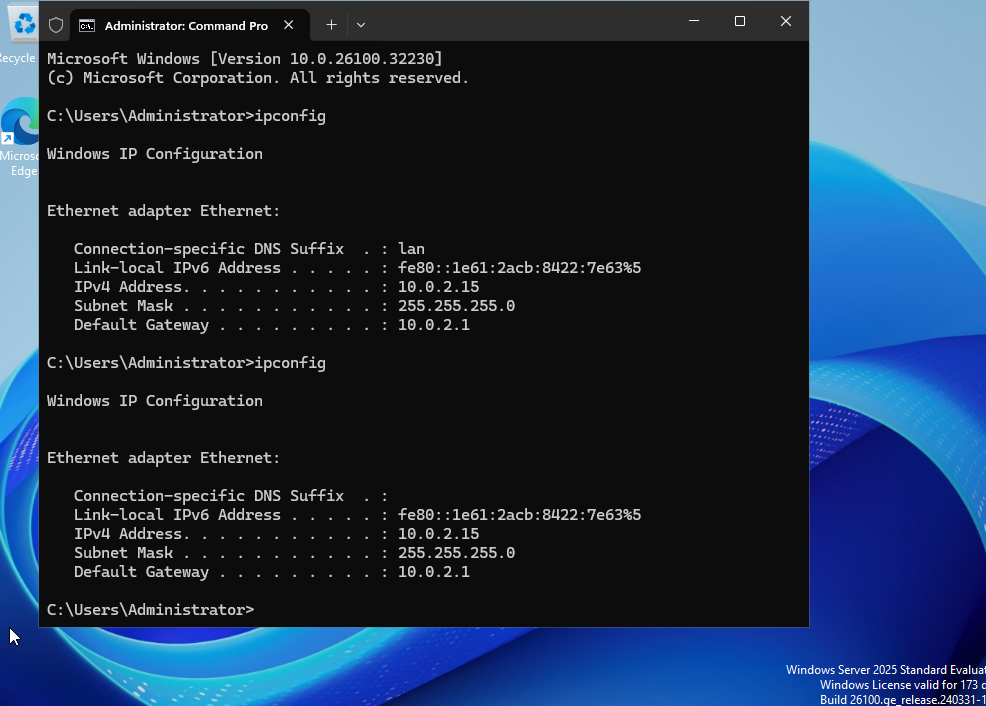
In this lab we will be attaching the Windows VM to the Domain that we created in a previous lab. First, lets give our server a static IP address. First, let check our ip address now using ipconfig.
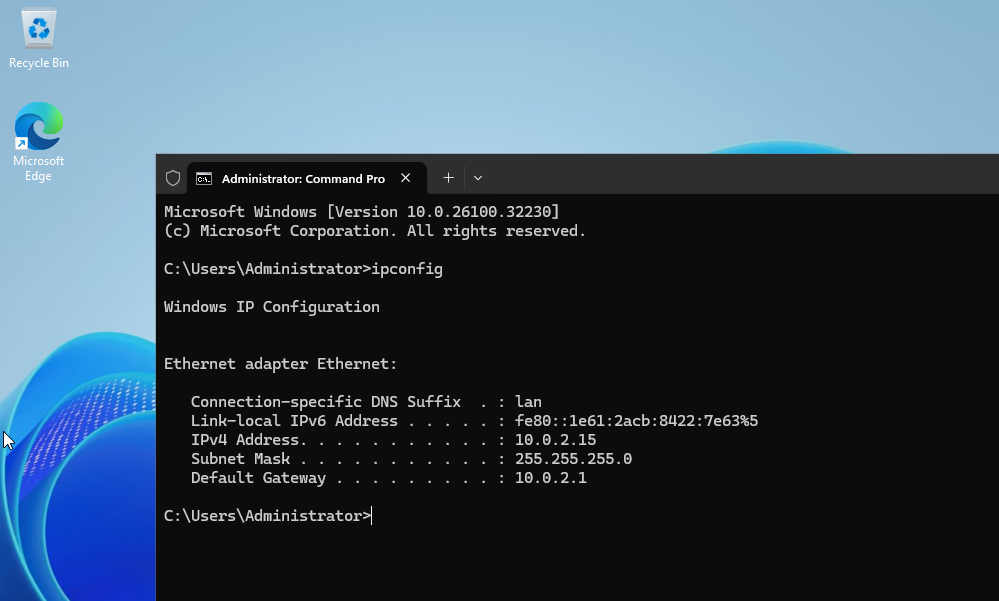
That is our current ip settings. Go to network settings and select advanced network settings.
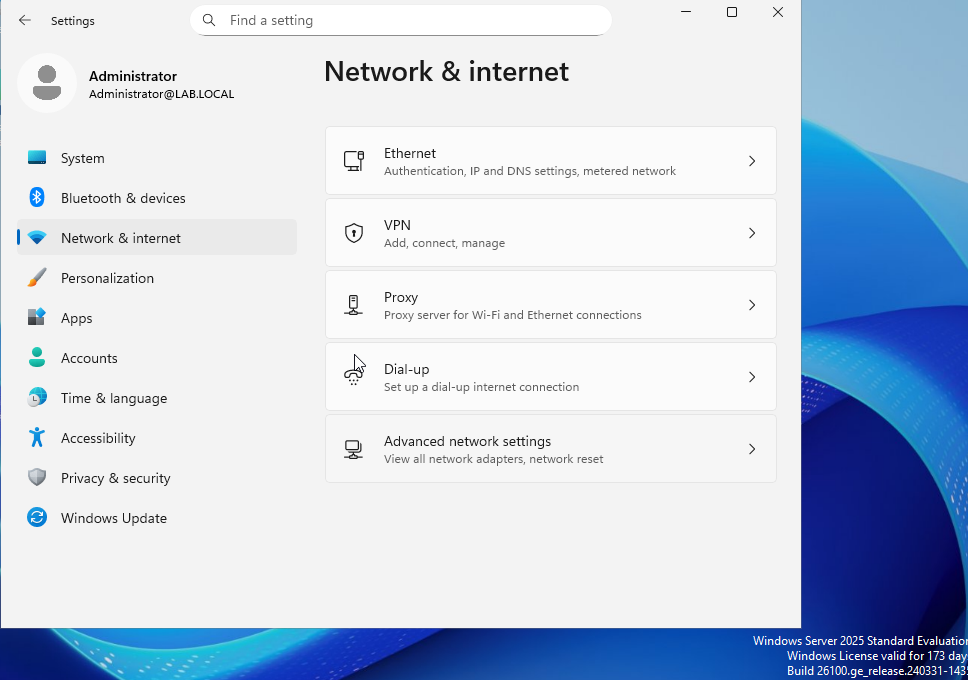
Then select the edit button next to more adapter options.
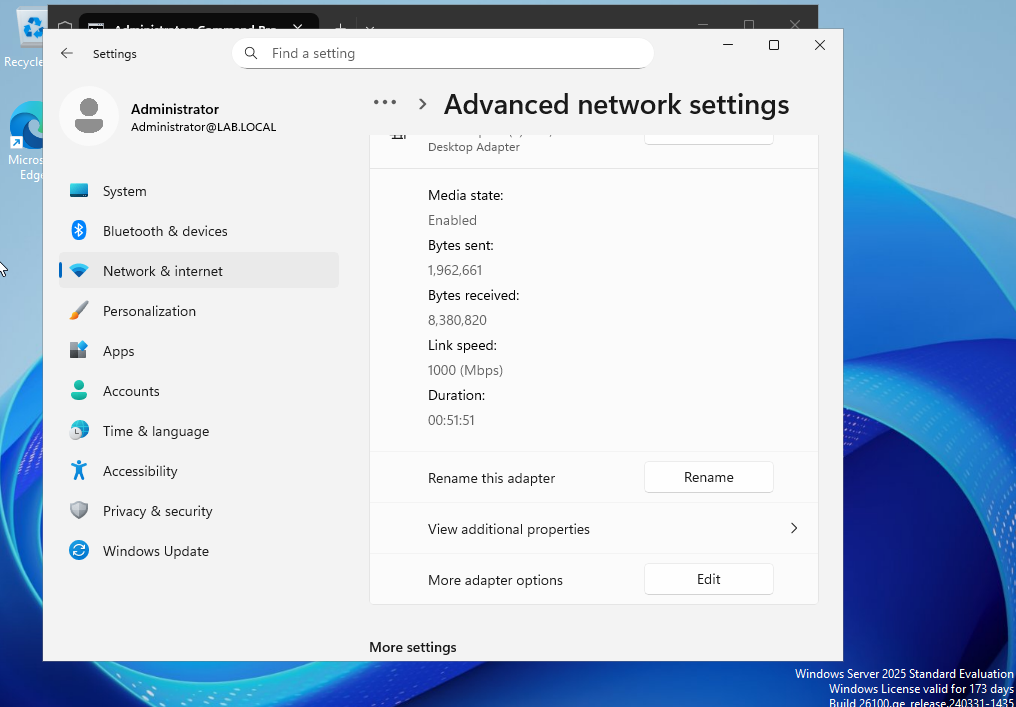
This well take you to the Ethernet Properties.
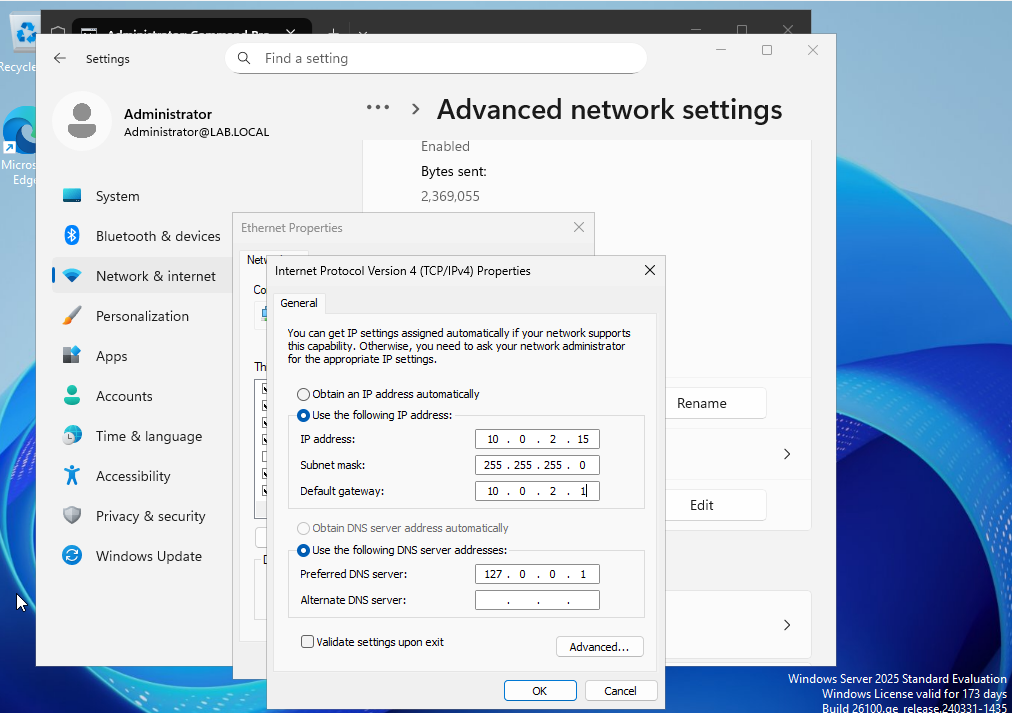
Double click the “Internet Protocol Version 4 (TCP/IPv4). Click the “Use the following IP address” and then enter the IP address found during the ipconfig command. This will ensure that the server will stay at this address. The subnet mask and default gateway can also be used from the ipconfig results. The DNS server is 127.0.0.1. This is a loopback address for IPv4.
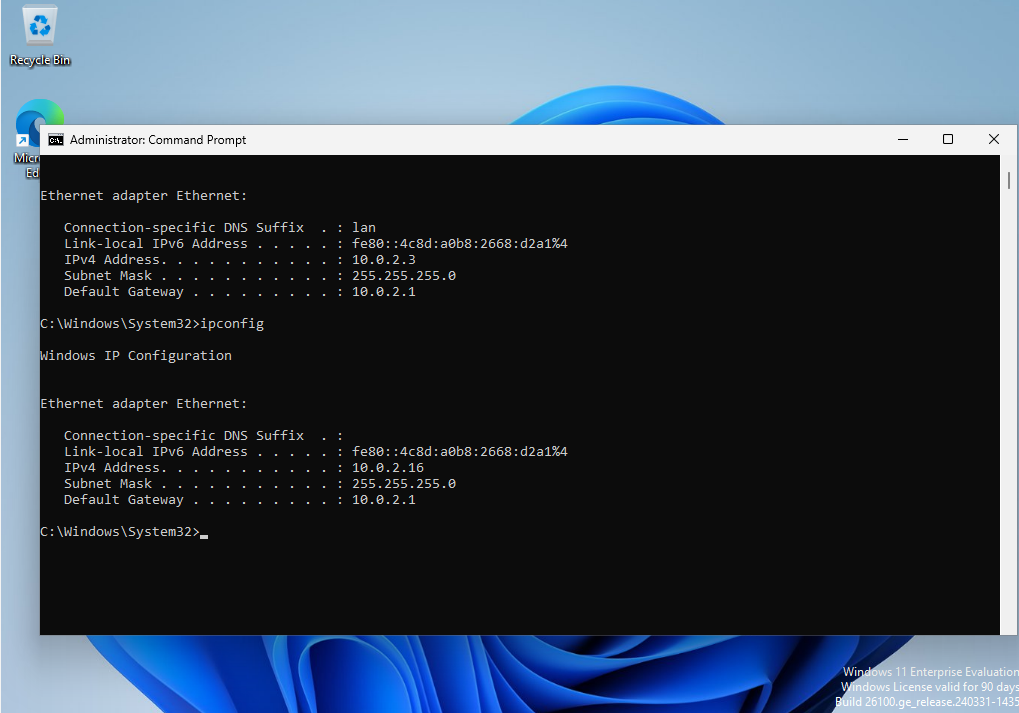
Lets double-check our IP through ipconfig.
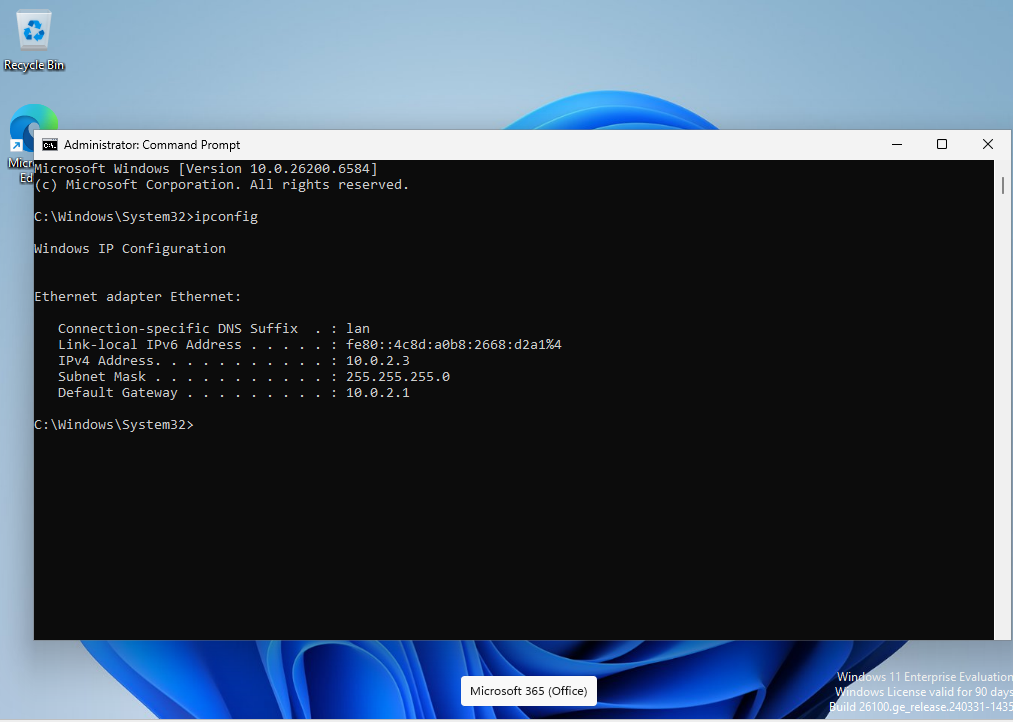
Switch to the Windows VM you want to join to the domain. Check the IP on this workstation using ipconfig.
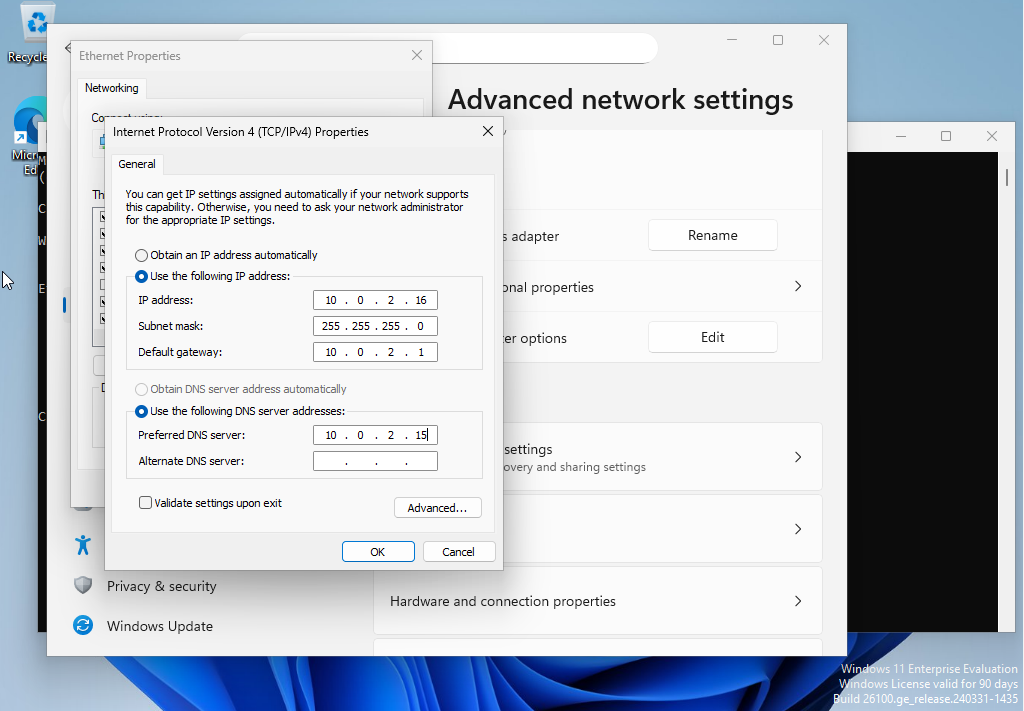
We will take the same steps we did with the server and go to network setting, advance setting, and then ethernet properties. We will set this to a static IP as well. I used 10.0.2.16 to make them sequential. The same subnet mask and default gateway is used. The DNS server address can be the same IP as the AD server. The AD server will be running DNS and will be able to resolve host names within the domain.
Lets confirm our changes with ipconfig command.
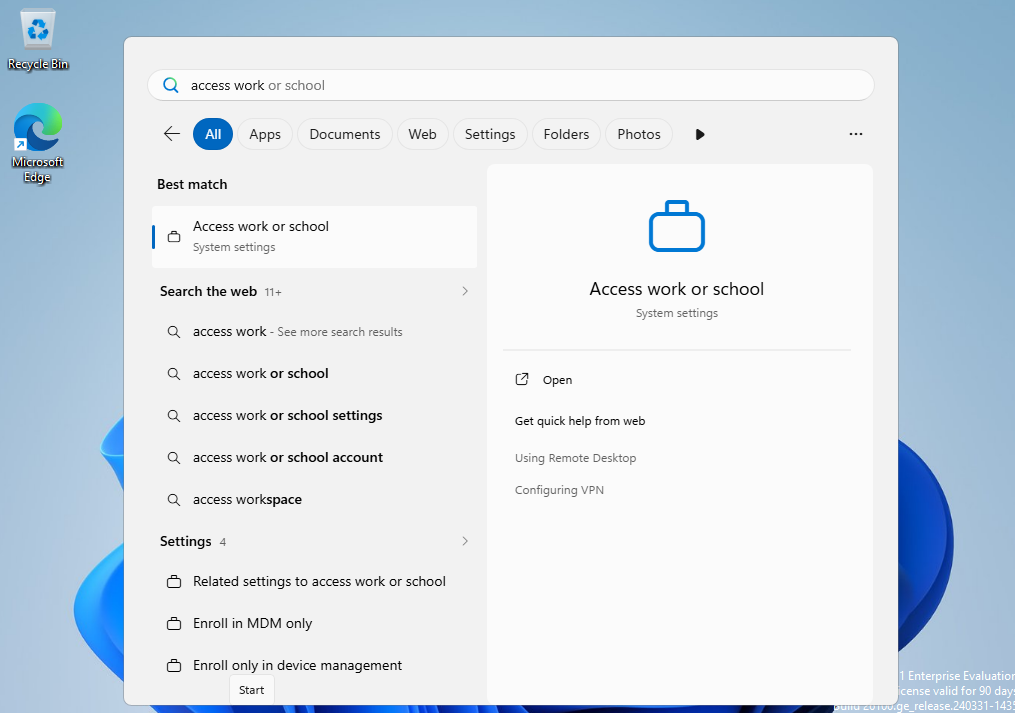
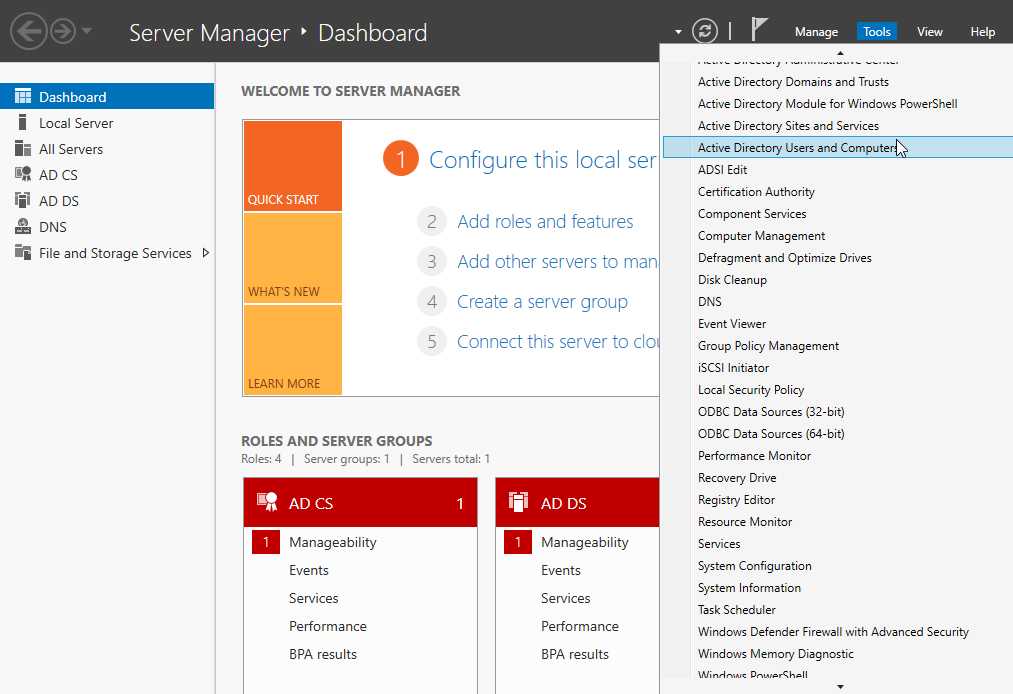
The next steps will be to add the VM to the AD domain. Press the Windows key and search “access work or school”
Select “Connect”
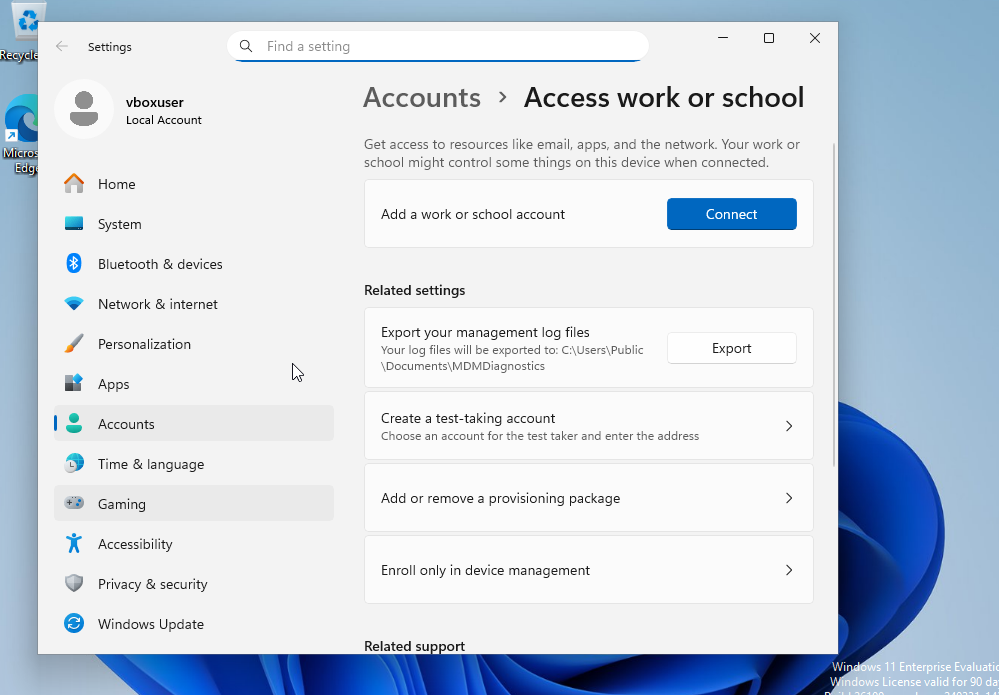
Select “Join this device to a local Active Directory domain” in blue at the bottom of the window.

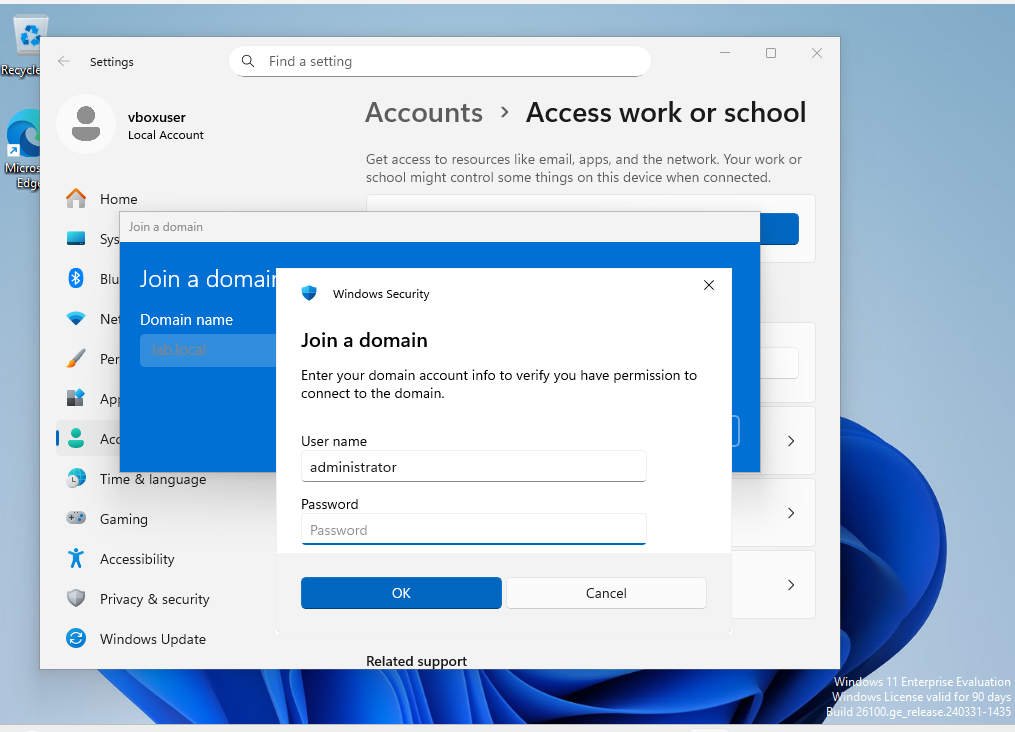
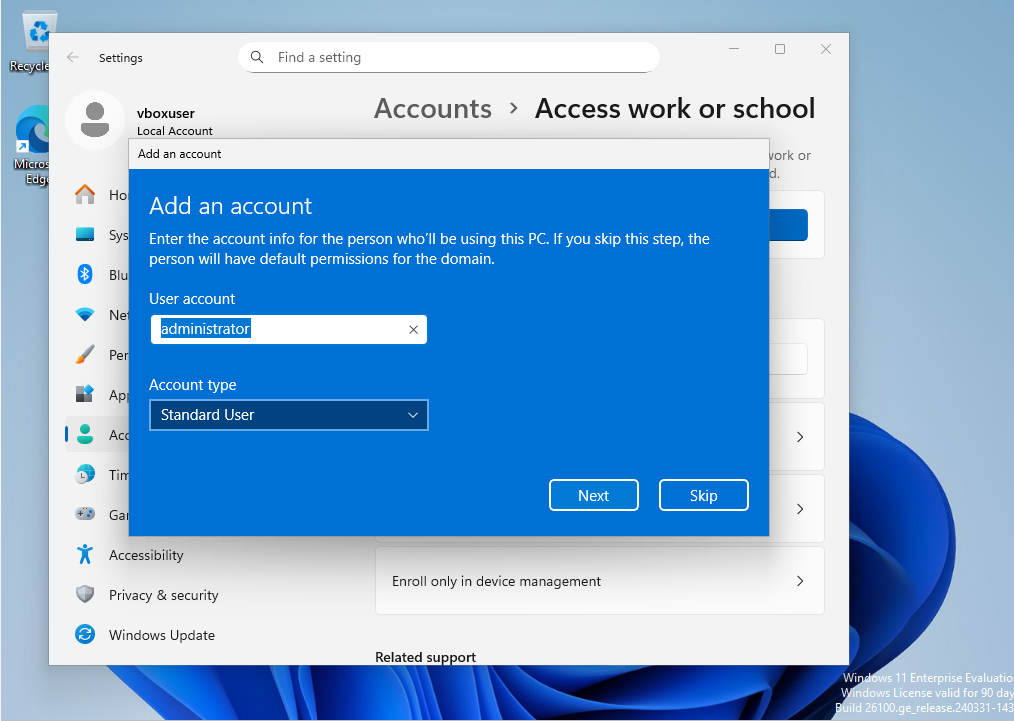
Enter the domain name that you used.

Enter the domain account that can be verified.
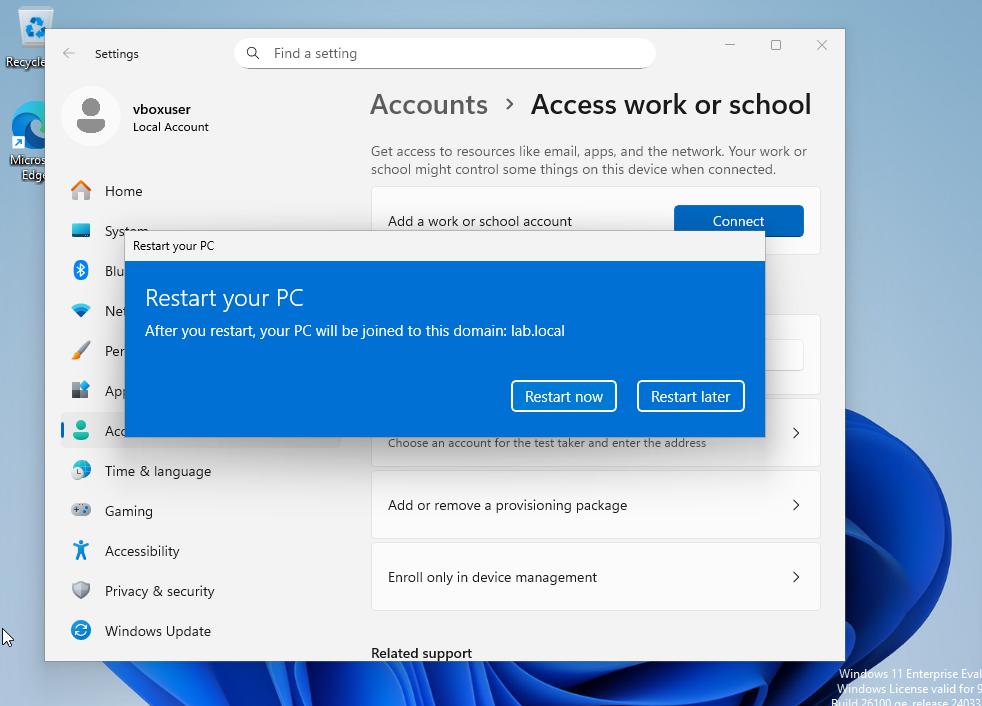
The VM will need to be restarted after these changed have been applied.
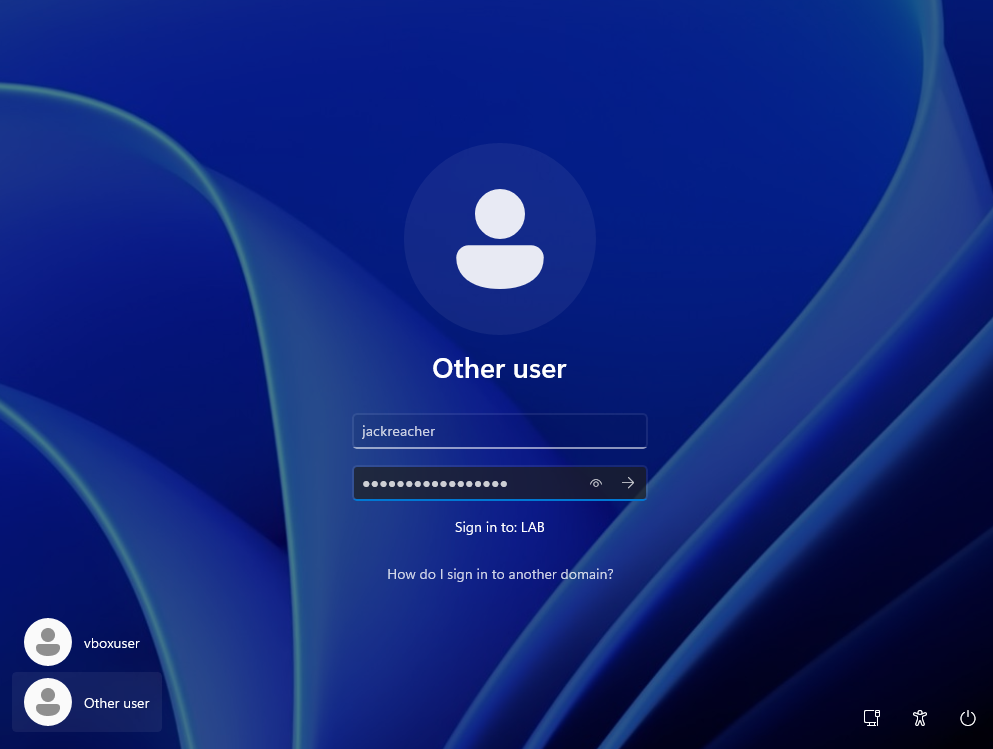
After the restart, use credentials from one of the users that was created in the previous lab.
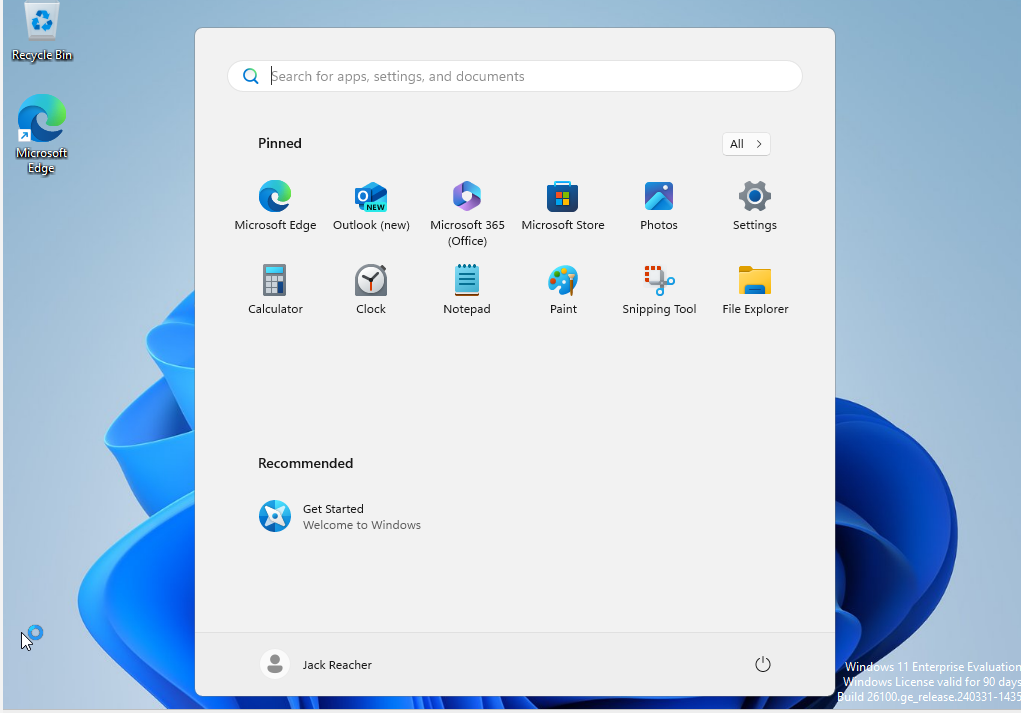
The VM will take a few moments to get set up. After this is done, you should be logged in as that user.
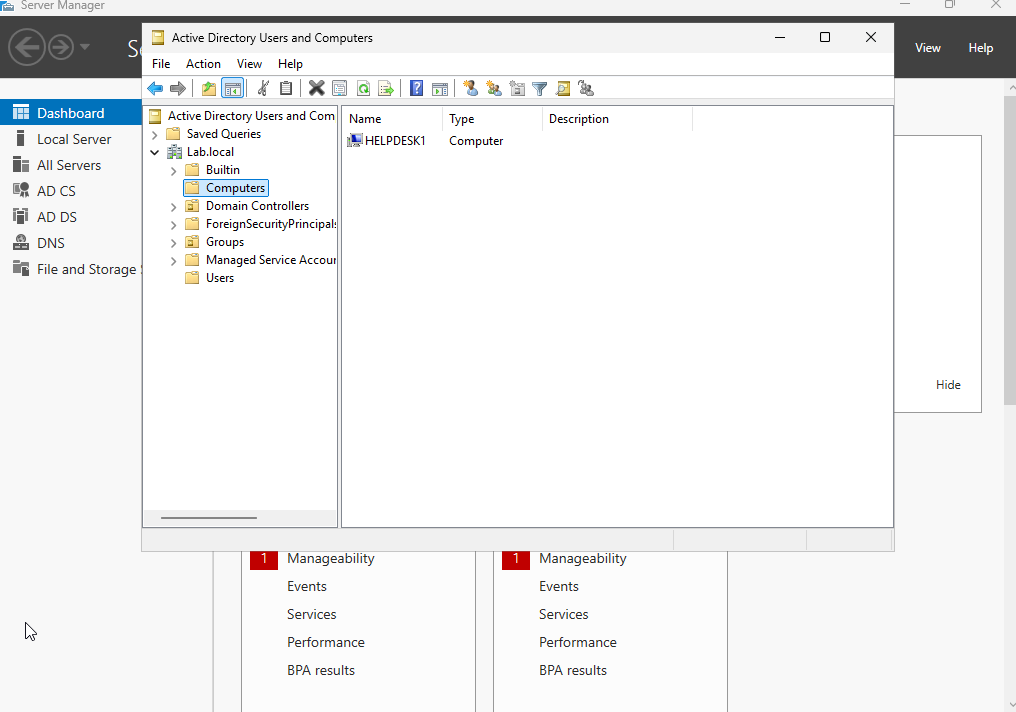
Another way to confirm that the VM has successfully been added to the domain is going back to the server VM, go into the user and computers tool, and select the computer OU. We should see the VM.
That’s it for this lab! Any feedback is welcome!