
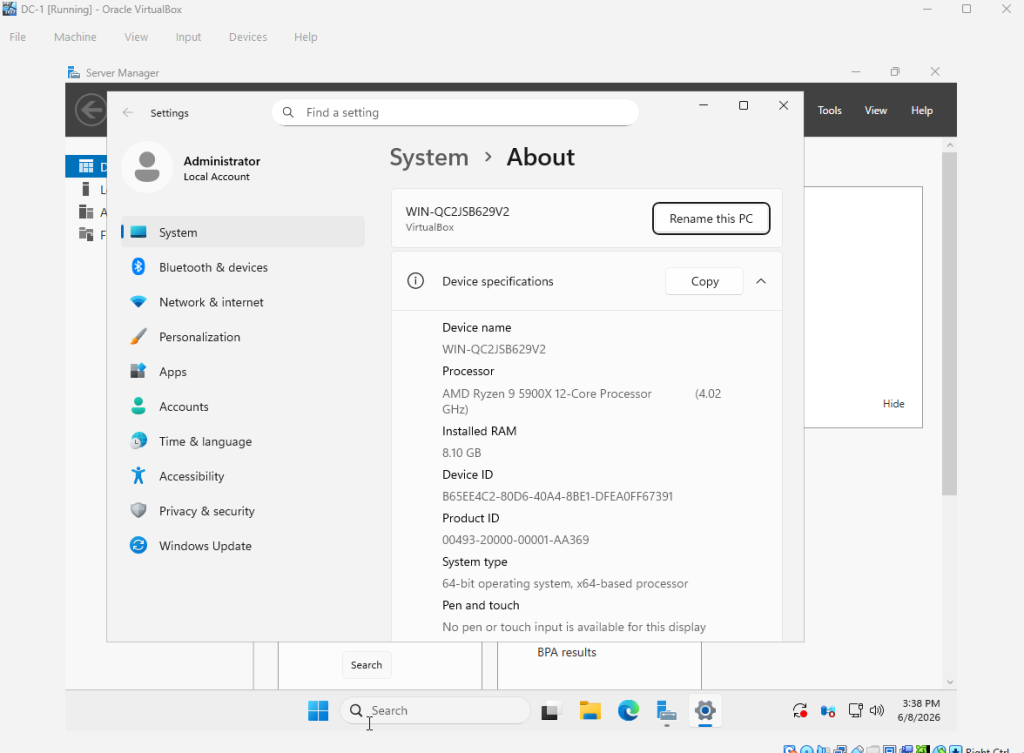
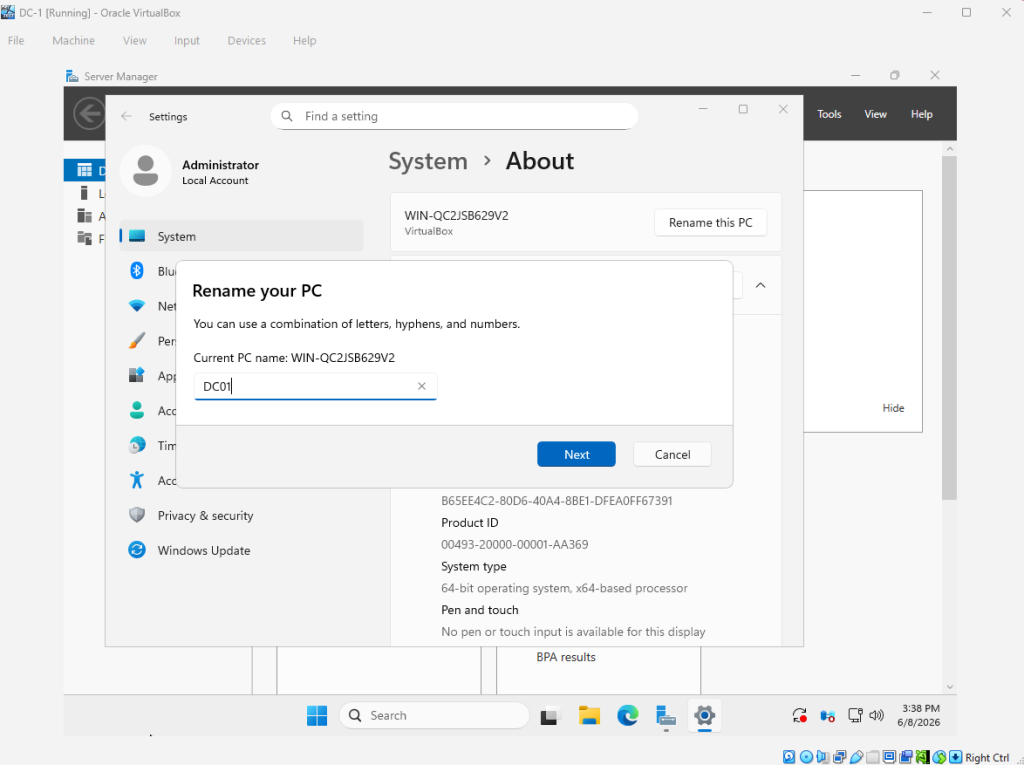
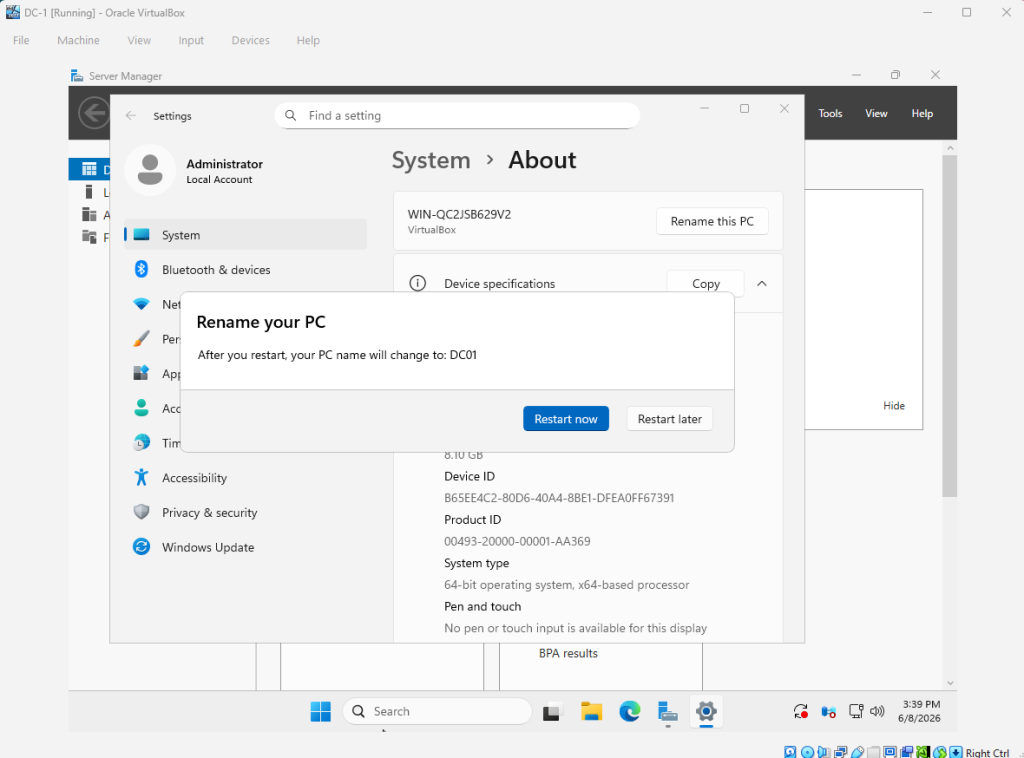
At this point, we have a Windows desktop and server VM. After successfully installing the Windows server, we will have to configure it to act as a domain controller. First, we will change the name of the Windows server VM. This can be found in “About” under the “System” tab in Settings. Select “Rename this PC” and change the name to whatever you want to. Afterwards, you will need to restart the VM.
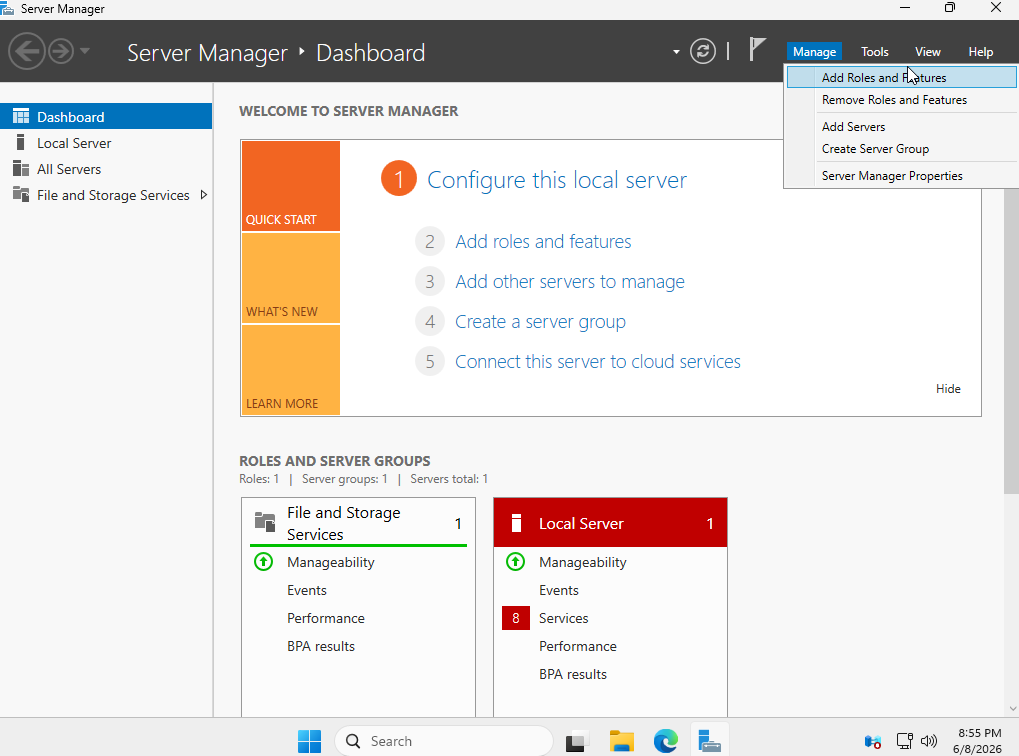
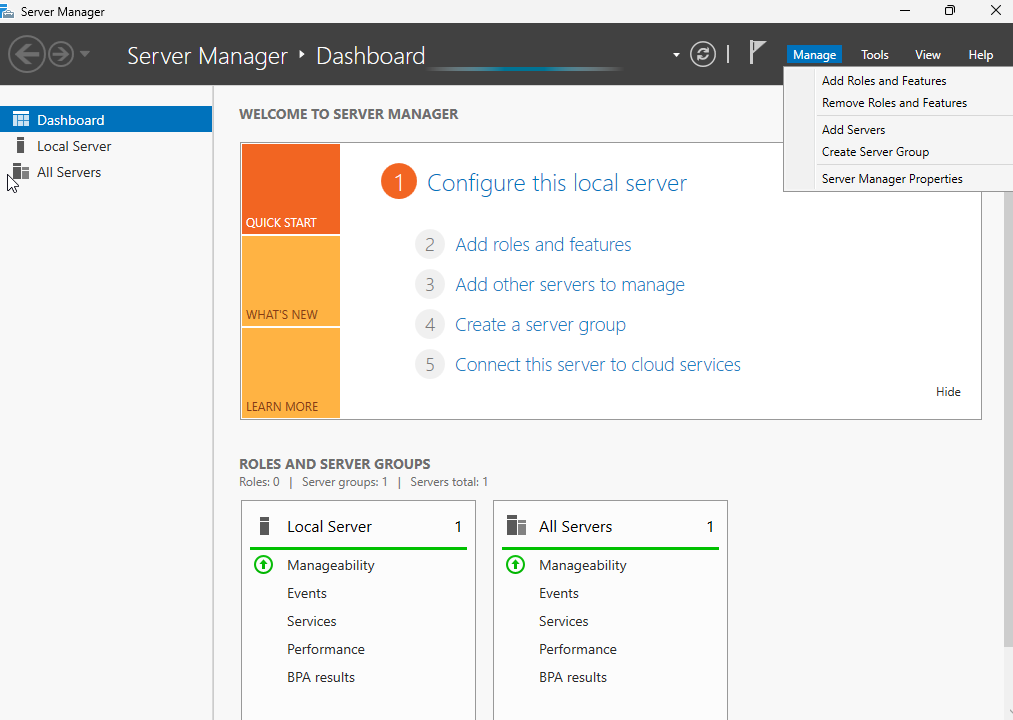
After your computer restarts, Server Manager will load. Select the “Add Roles and Features” under the manage dropdown menu.
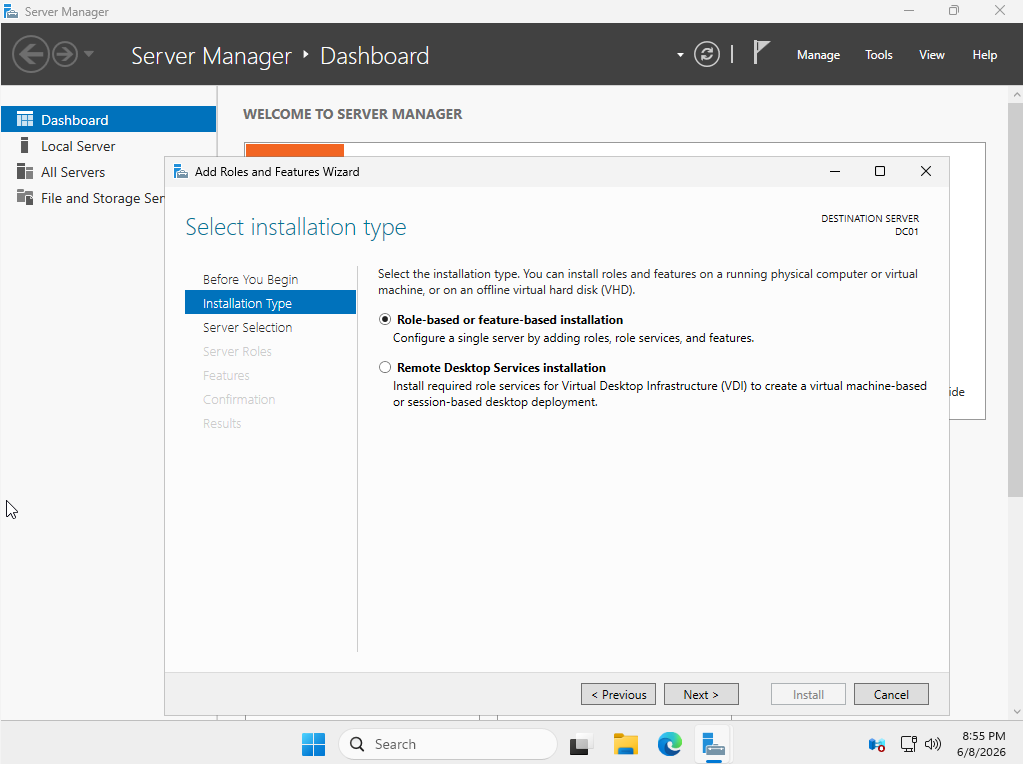
We will be selecting role-based or feature based installation.
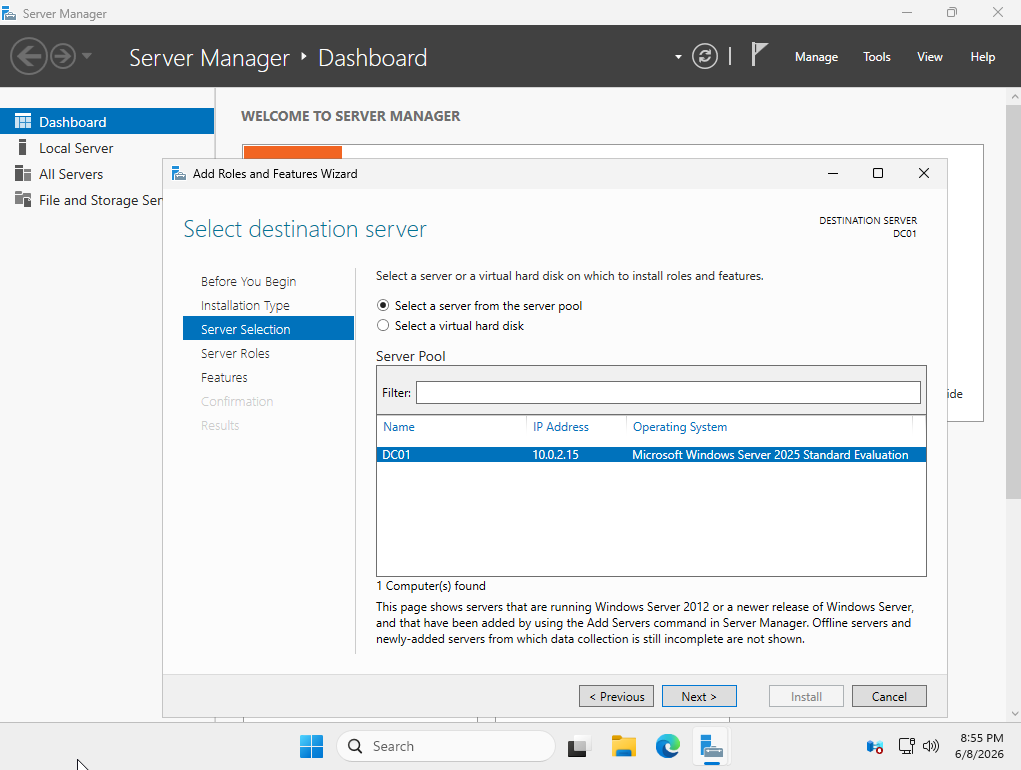
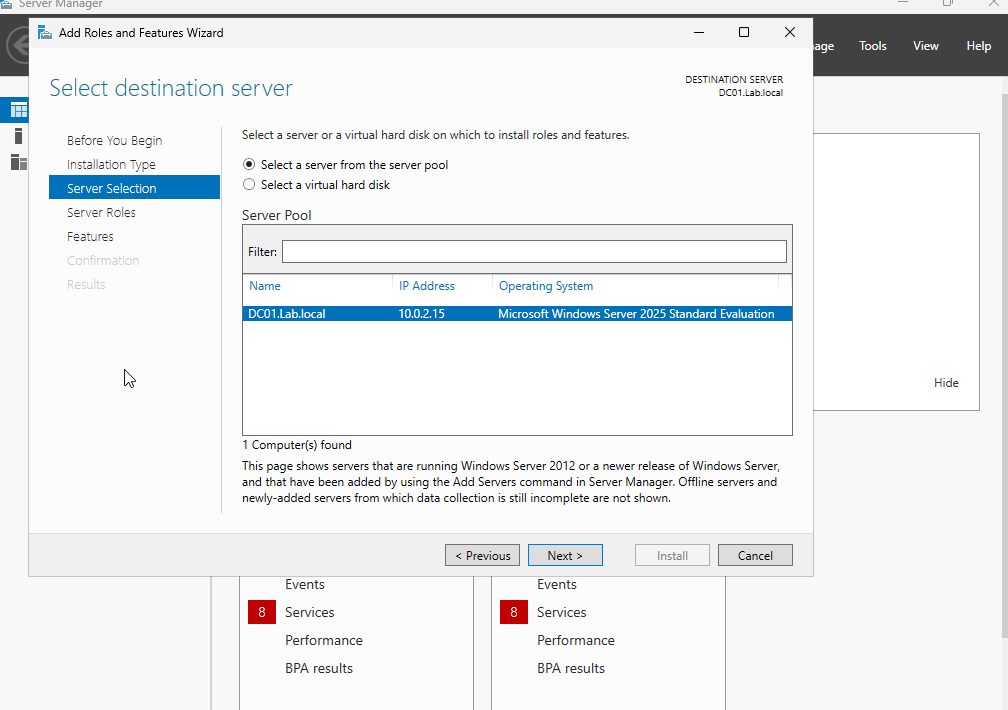
If there is more than one server available, make sure you select the correct one.
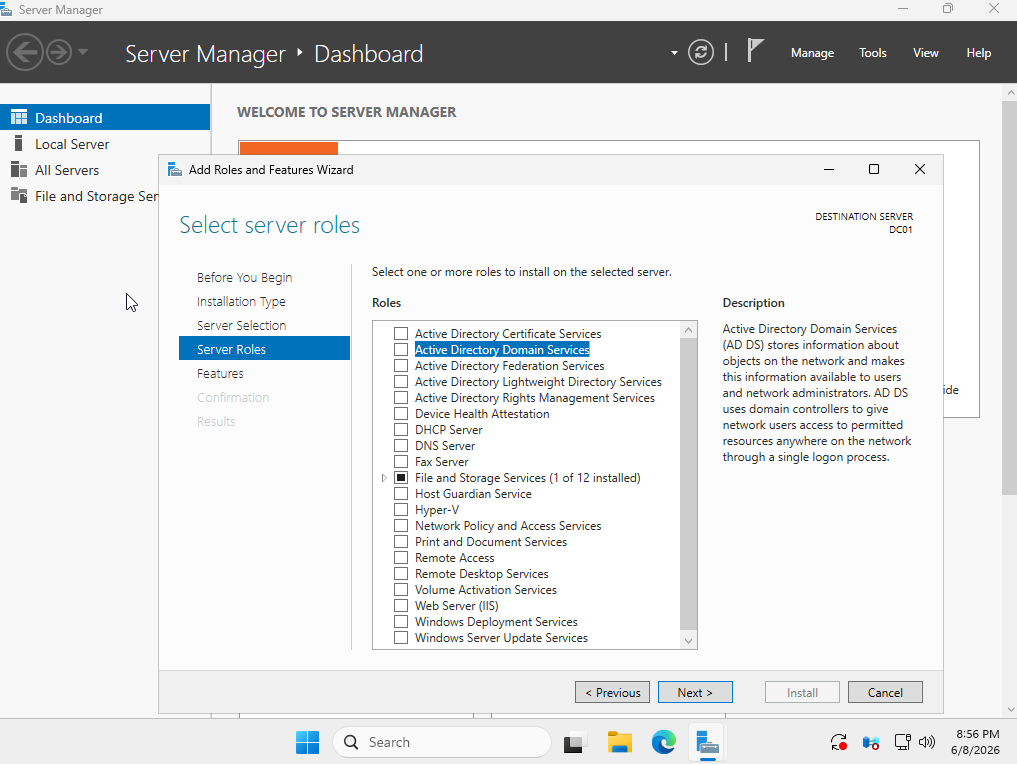
The role we will be adding is the Active Directory Domain Services role.
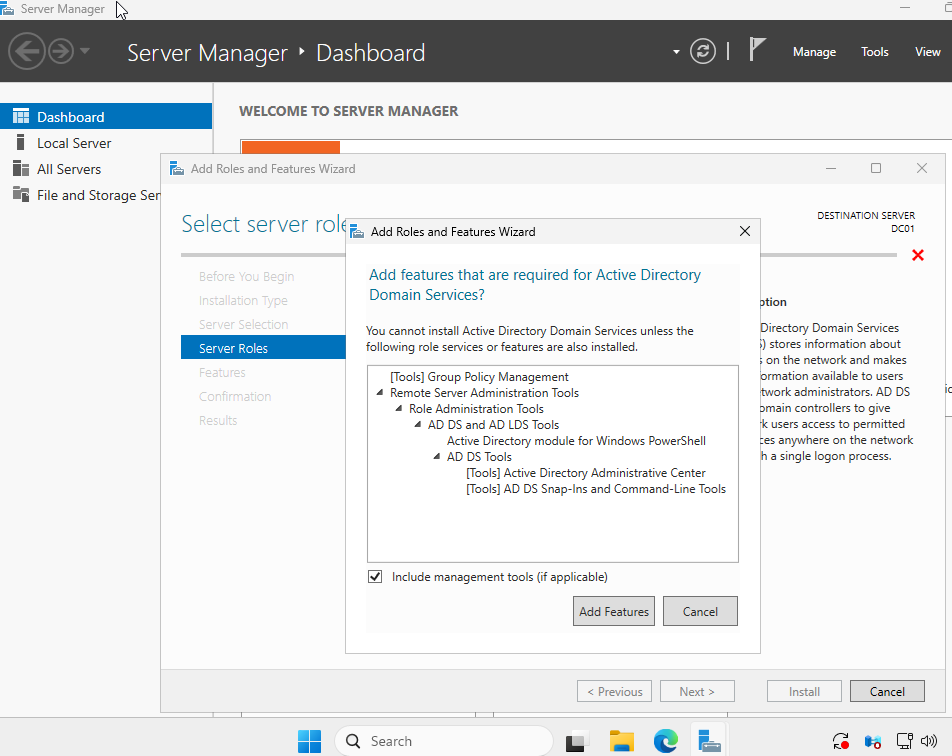
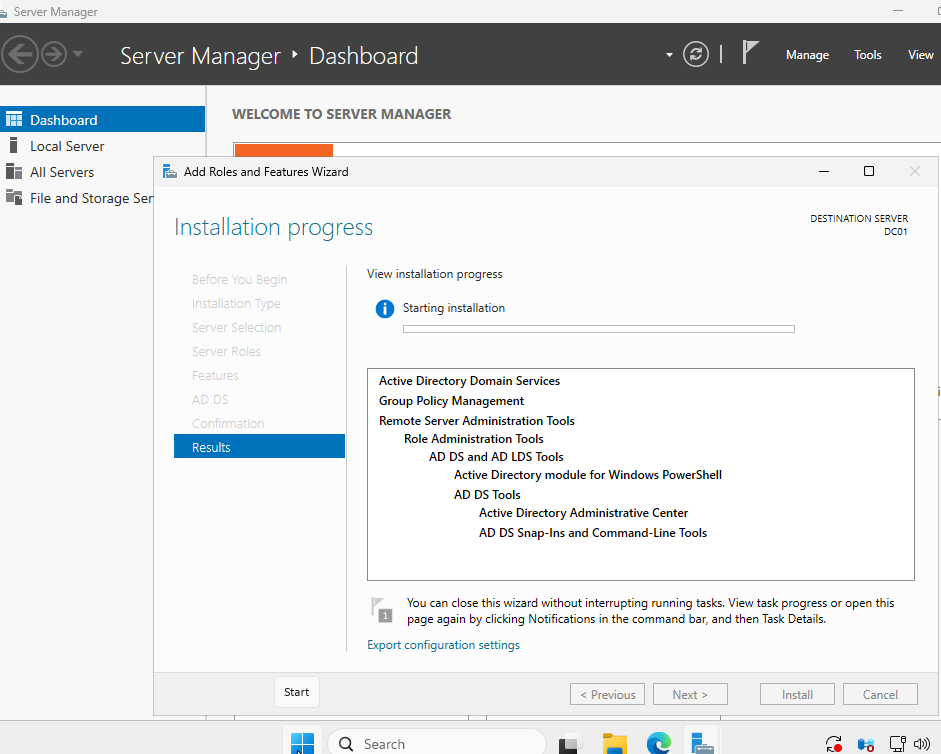
Add the feature and continue through the installation. The VM will restart after the installation is complete.

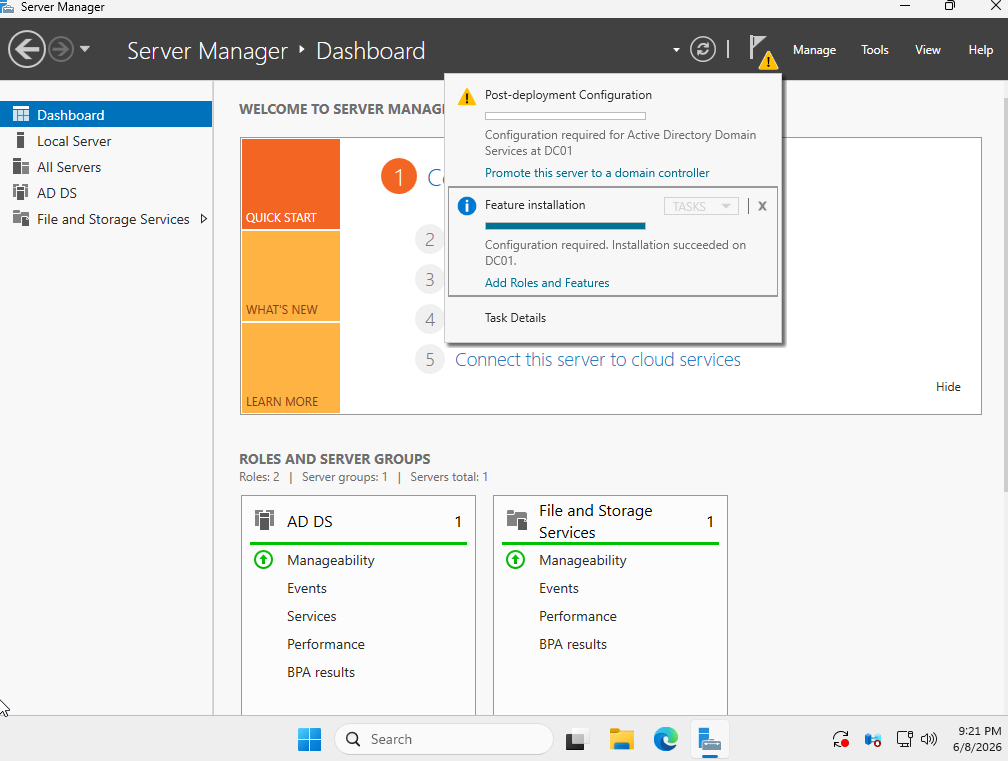
Once your computer has rebooted, we will need to promote the server to a domain controller. This option can be found under the notifications.
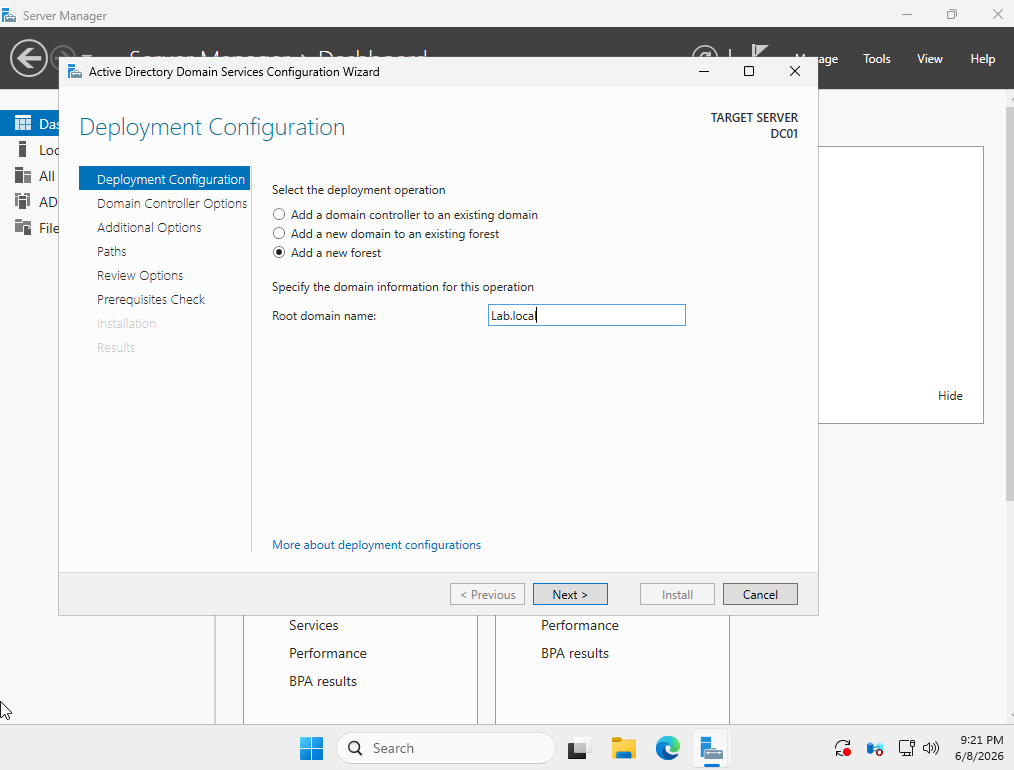
We will add a new forest and identify the root domain name.
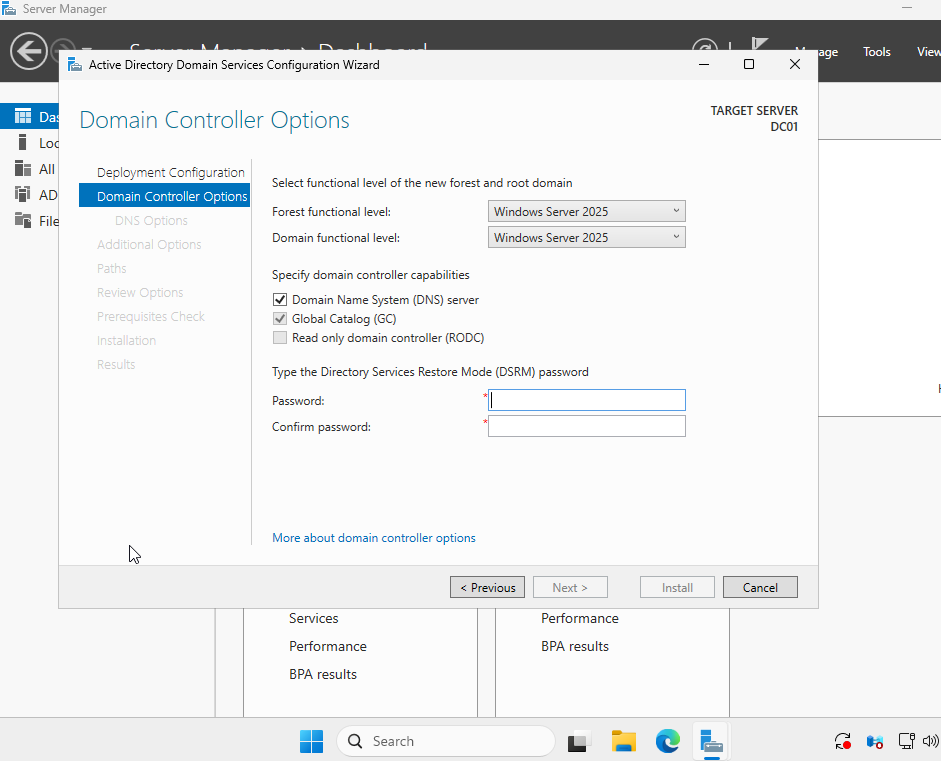
Enter your password.
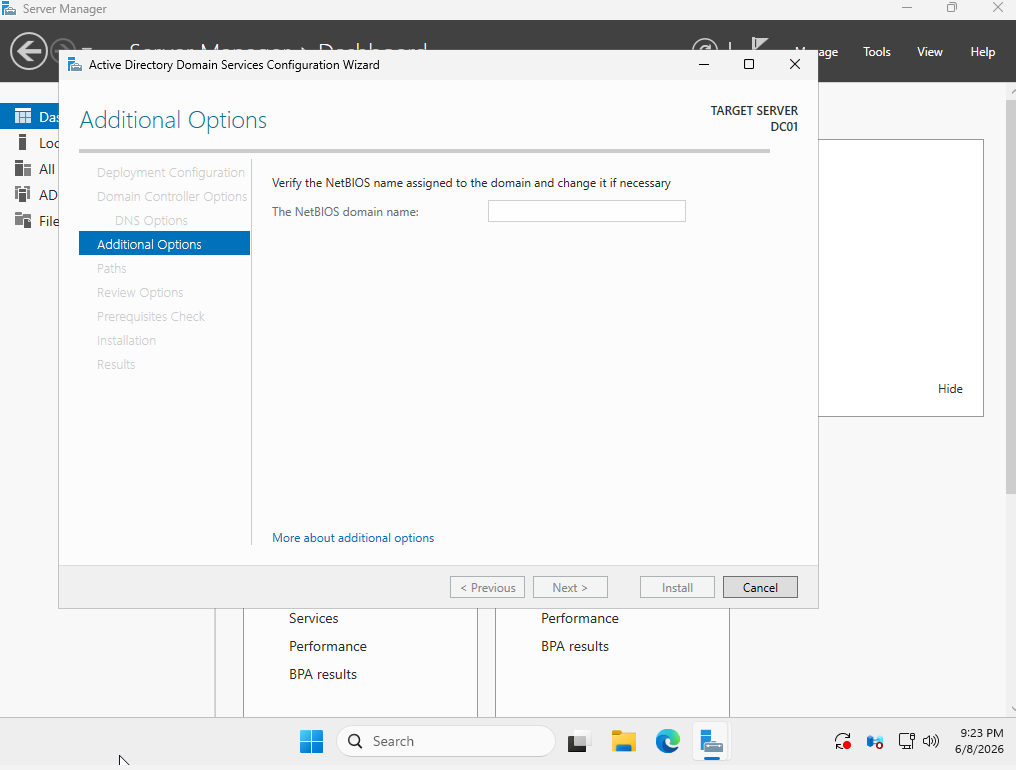
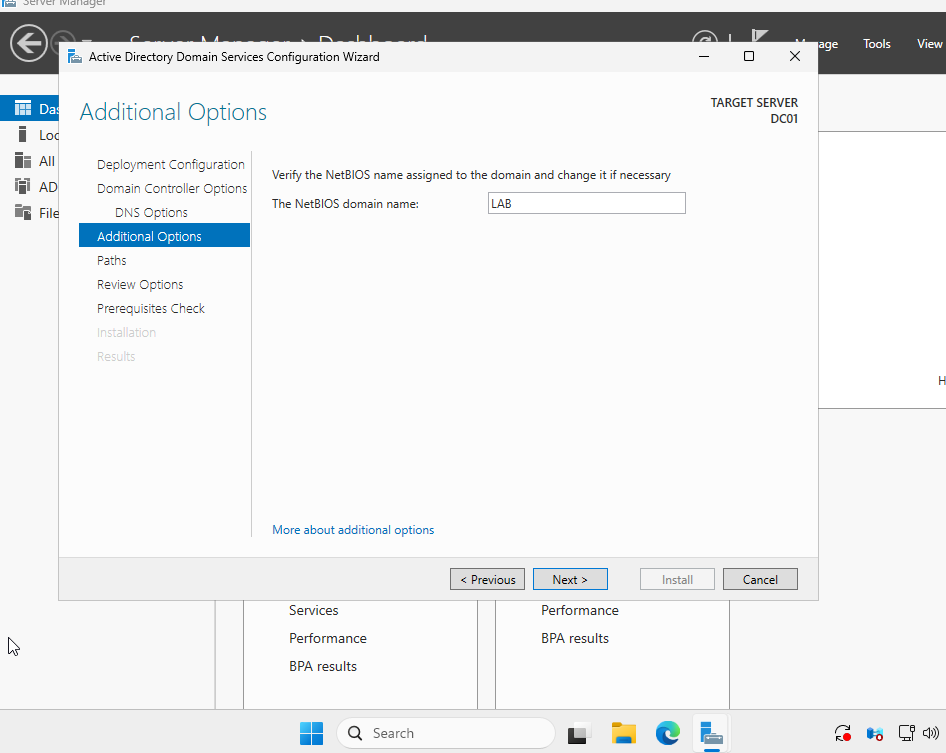
The NetBIOS domain name text box will be blank at first. Once the VM has a few moments, your domain name should populate.
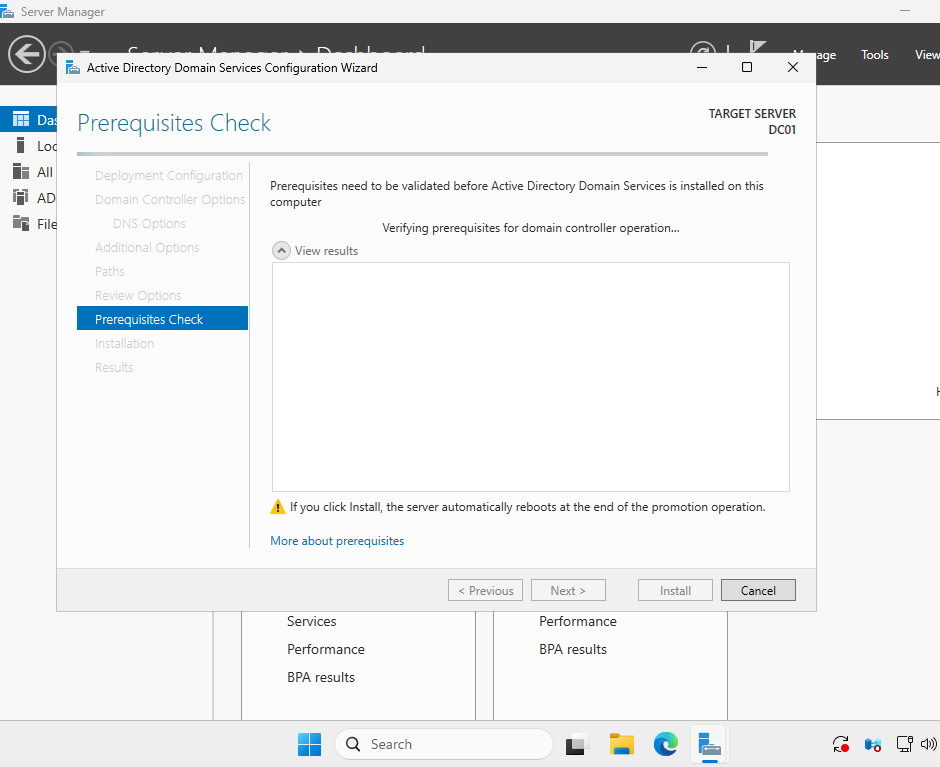
It will run a prerequisites check which will take a few moments to populate as well. Do not be alarmed with the result descriptions in the text box. These are just descriptions of problems provided. We see that we have a green checkmark in the top left corner.
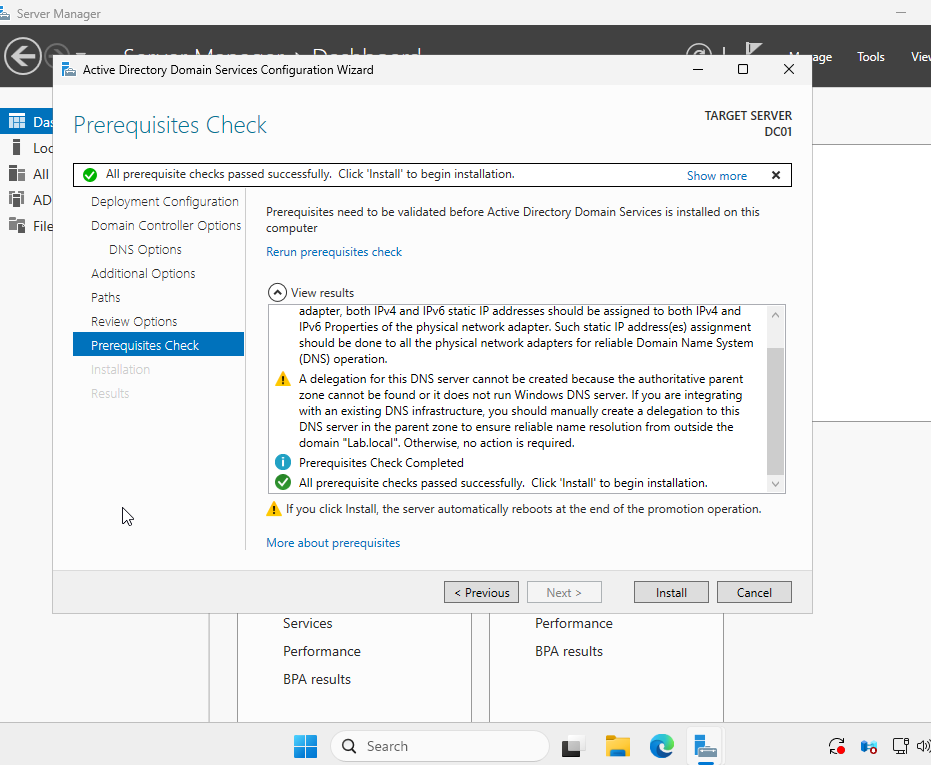
The rest of the installation can be completed by selecting install. Next we will add another feature, which will be the certificate services. Go back to the add roles and features option.
The first three selections will be default and selecting the server you wish to add the feature to.
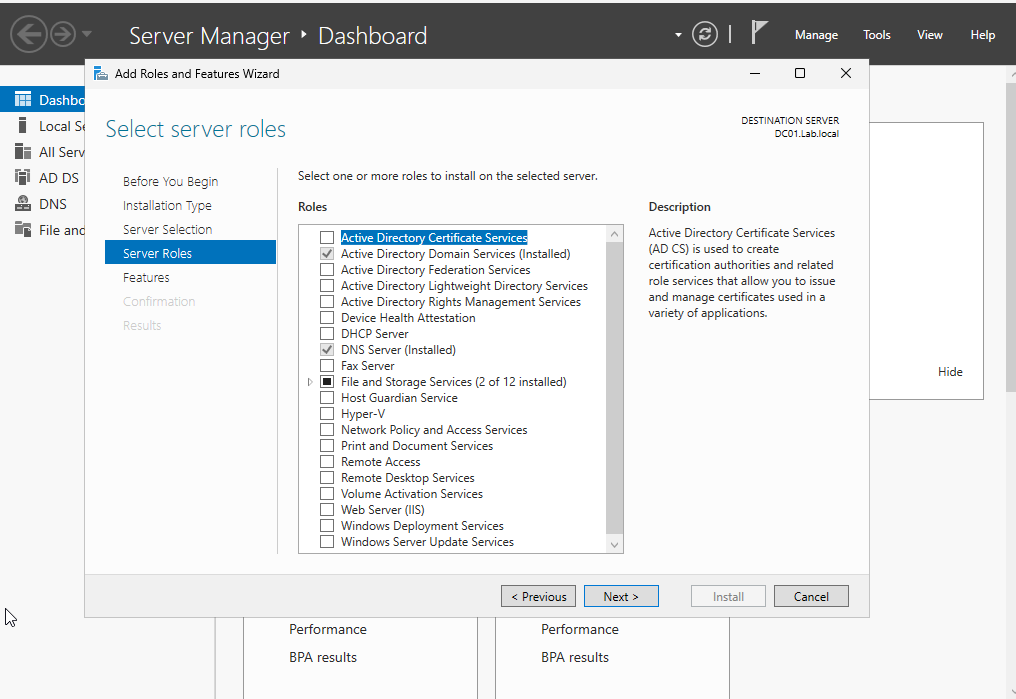
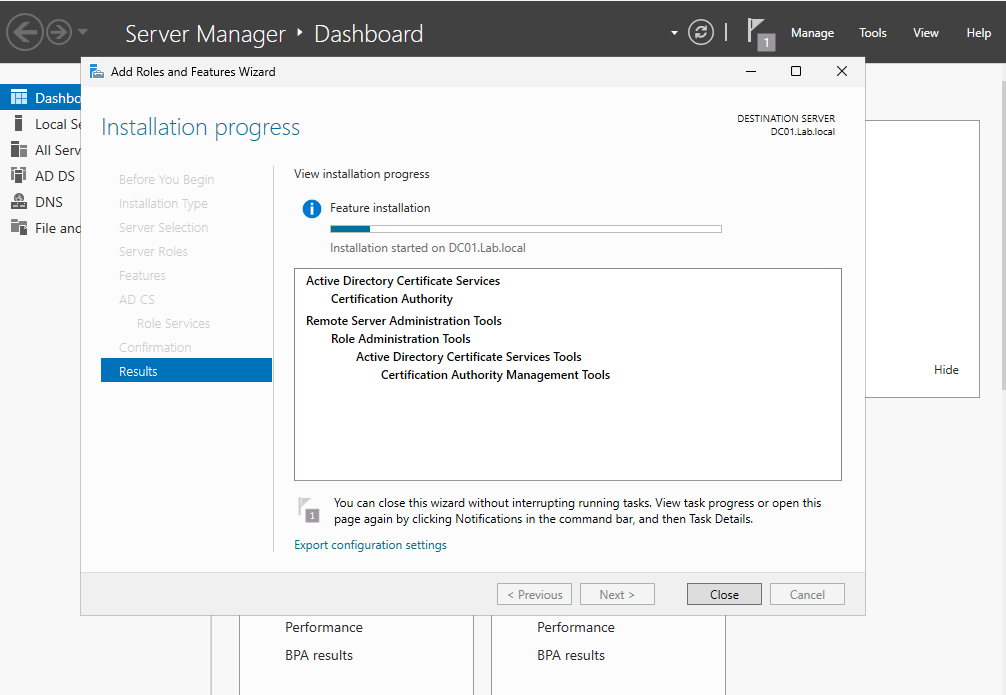
Once you get to the server roles section, select active directory certificate services. The next selections you will click next through and install the feature.
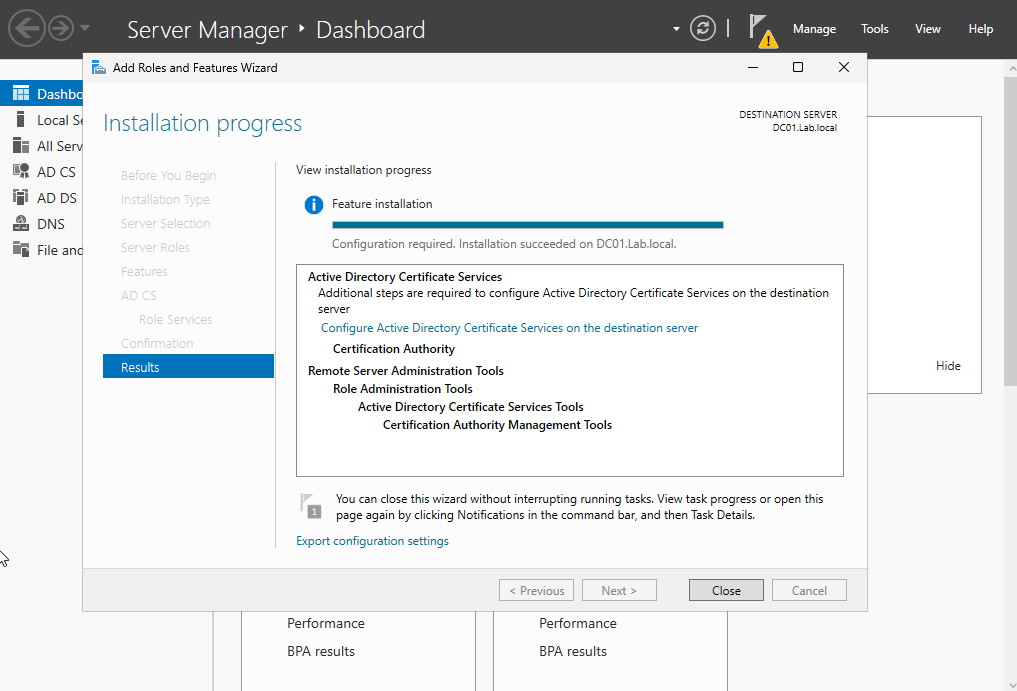
After the feature is installed, select the “Configure Active Directory Certificate Services on the destination server”.
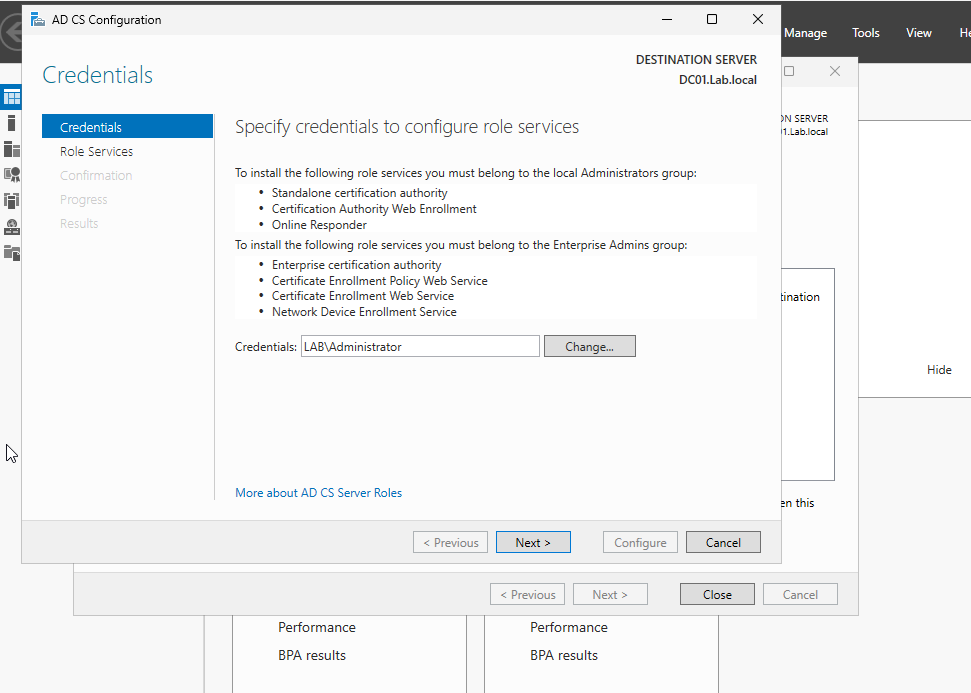
Most of the defaults will be selected throughout the rest of the setup. Select the credentials you will want to use.
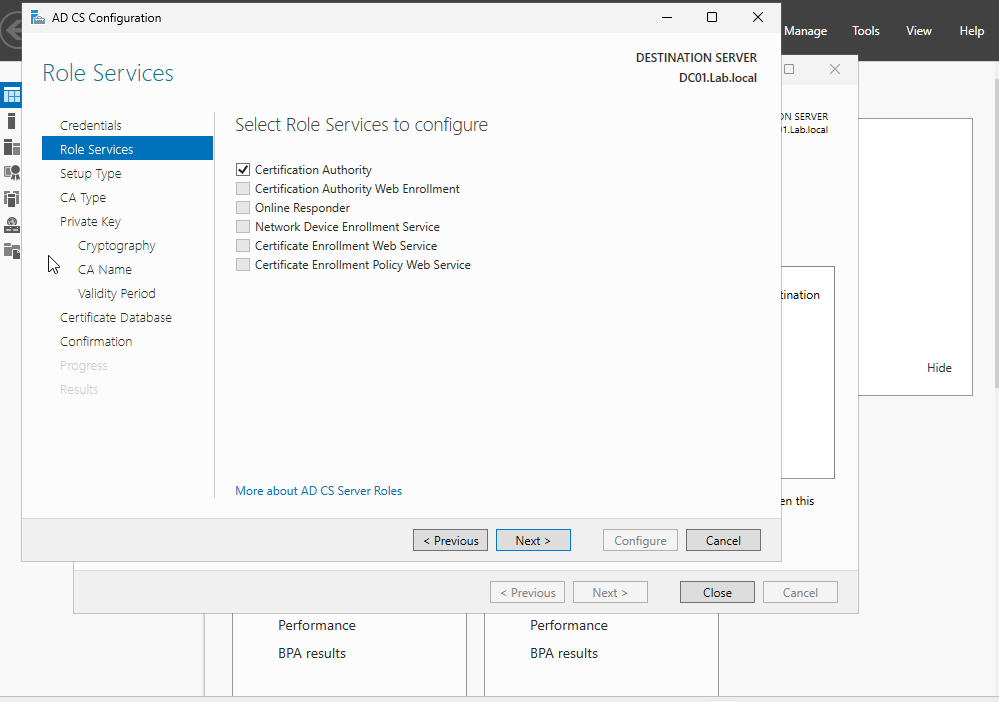
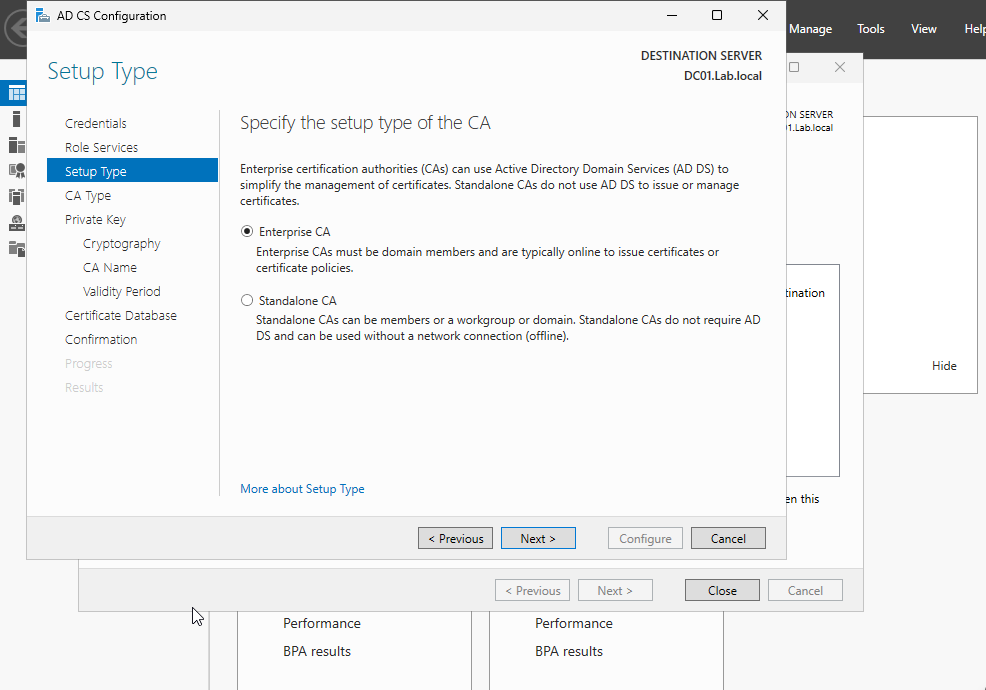
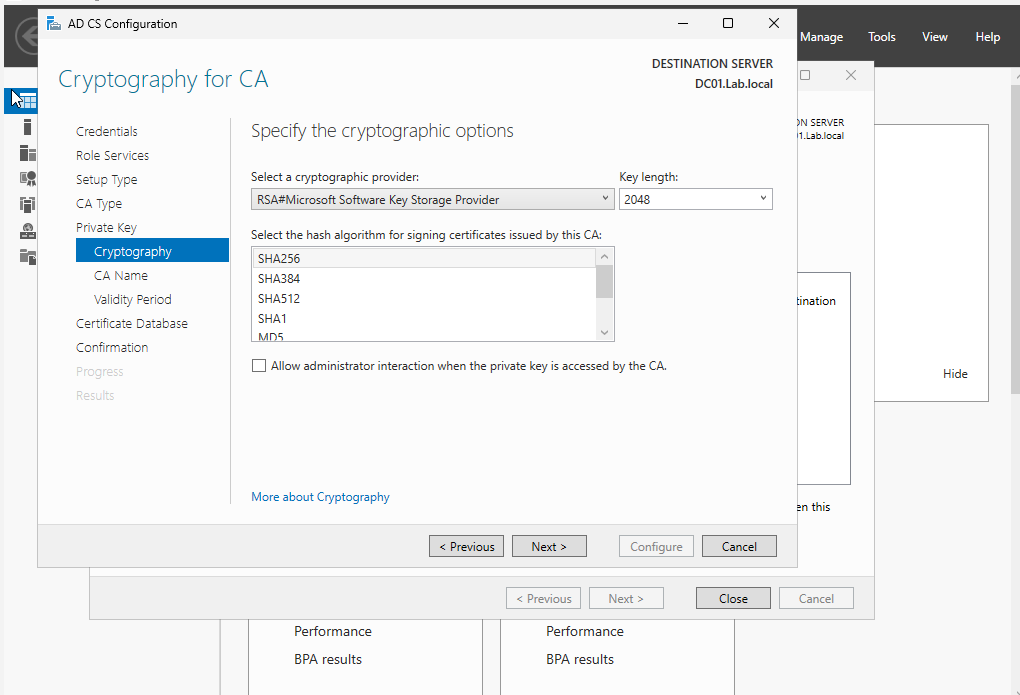
Select Certificate Authority, Enterprise CA, and create private key.

Select RSA and SHA256. If selecting another cryptography option, be sure not to choose a deprecated encryption or hashing.
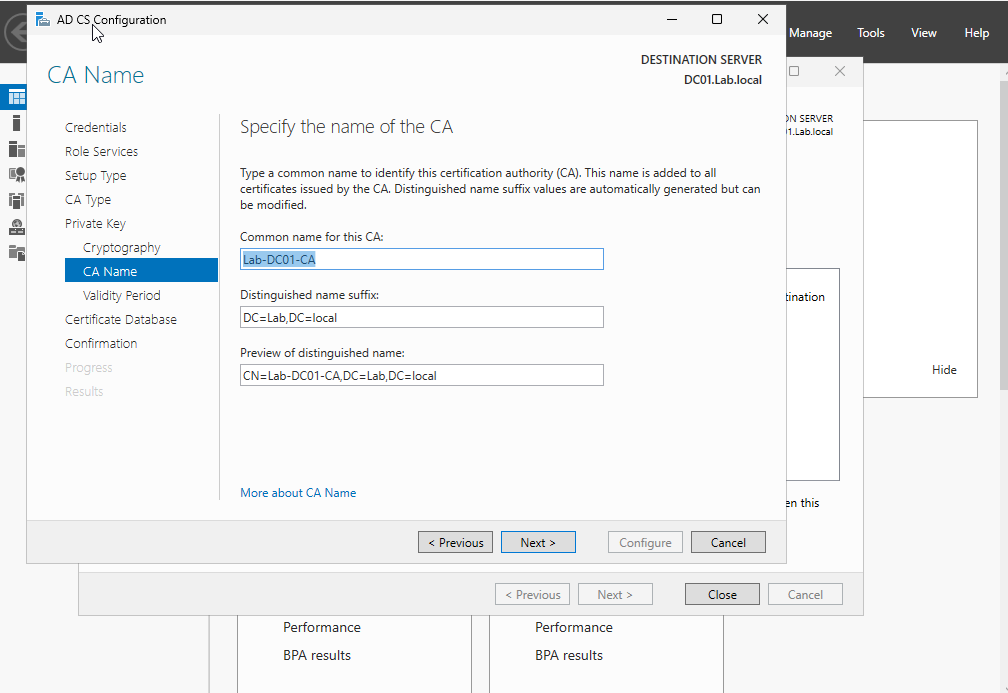
Create a name for the certificate authority.
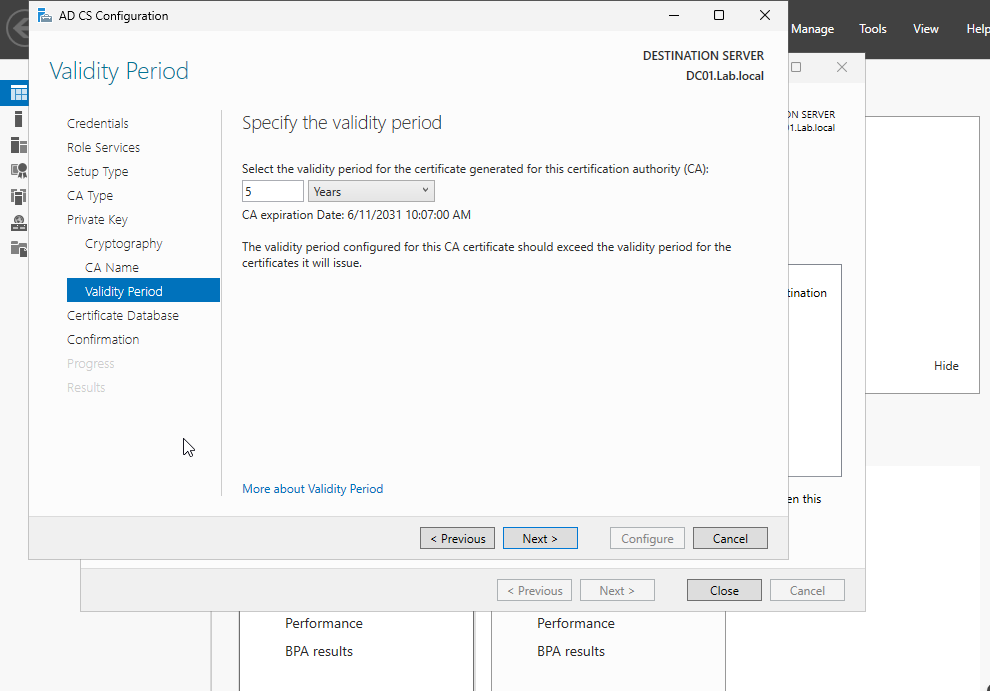
Validity period for the certificates that will be generated by the certificate authority. I kept this default for now.
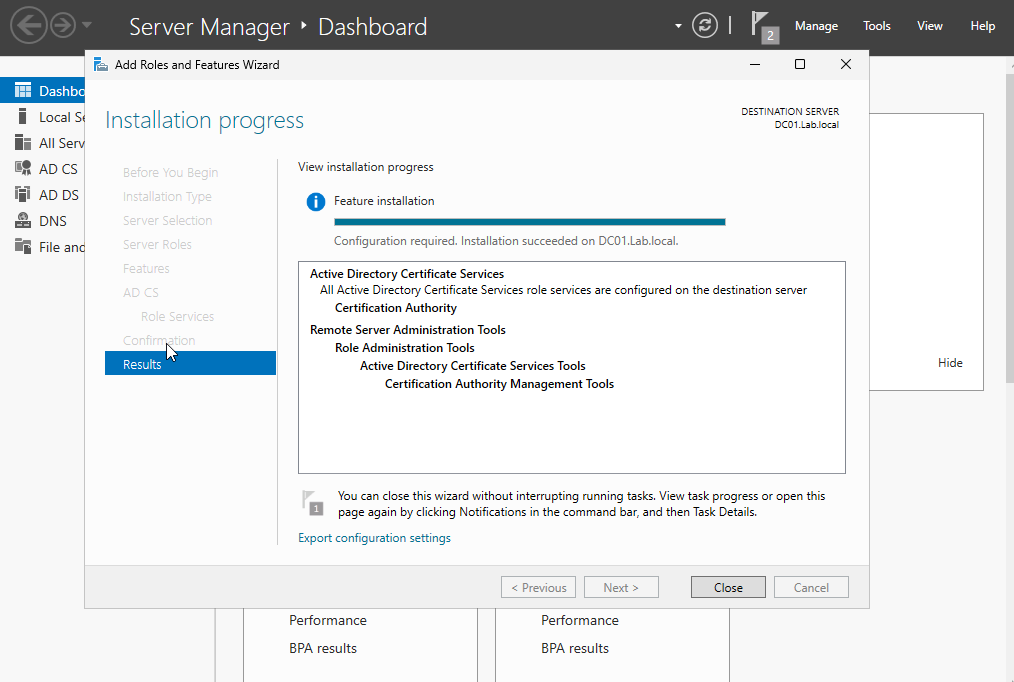
Confirm all your settings and install the feature. After installation, you can close the screen and certificate services has been added to the server.
Thank you for reviewing the step-by-step lab. If you have any feedback please feel free to leave a comment.