First, download VirtualBox, which you can do by going to virutalbox.org. Then download the correct version for the operating system you are using.
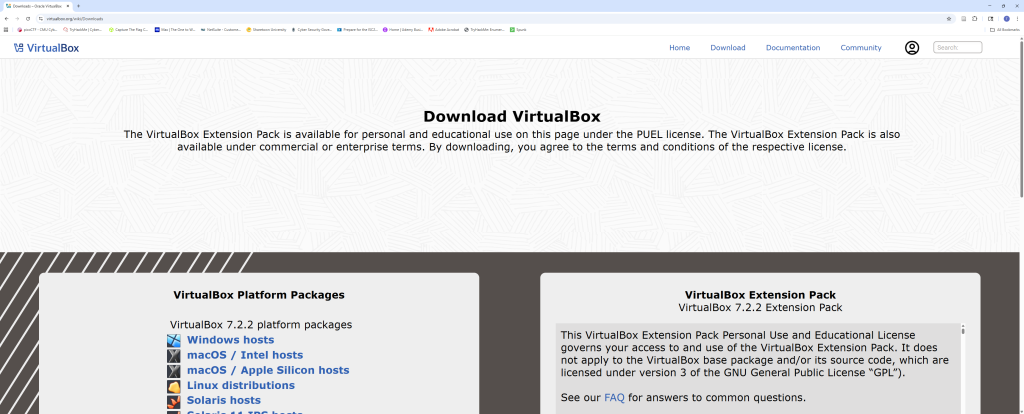
After you have downloaded VirtualBox, you have to download the image of the operating system you want to use. In this post I am creating a Windows 10 machine. You can google Windows Media Creation Tool as seen below.

The first link is the one needed. Once you select that you will be taken to this screen.

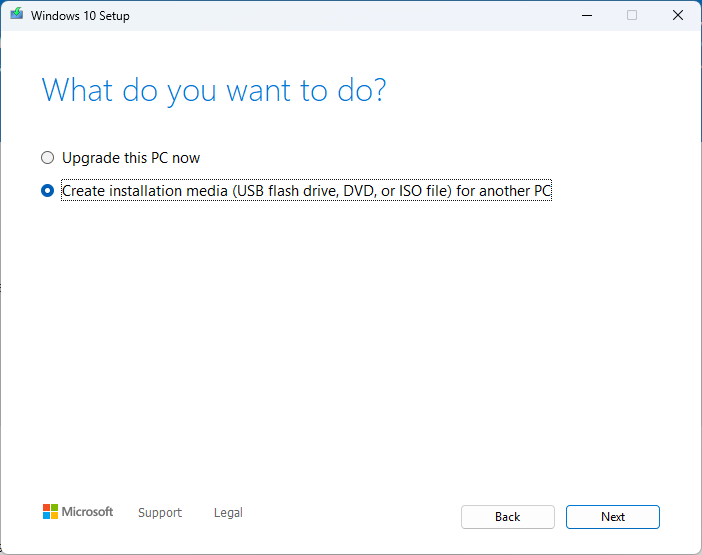
Select the download now option. After accepting the license terms, select the installation media option to download.
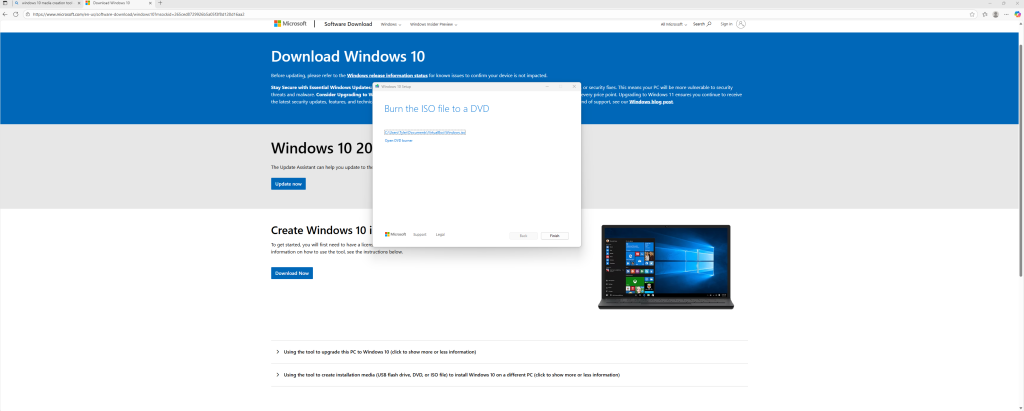
After this, select the following options that apply to you in the next few steps. Keep in mind that downloading the iso image may take a few minutes depending on your internet speed. The final step is choosing where to store the image.
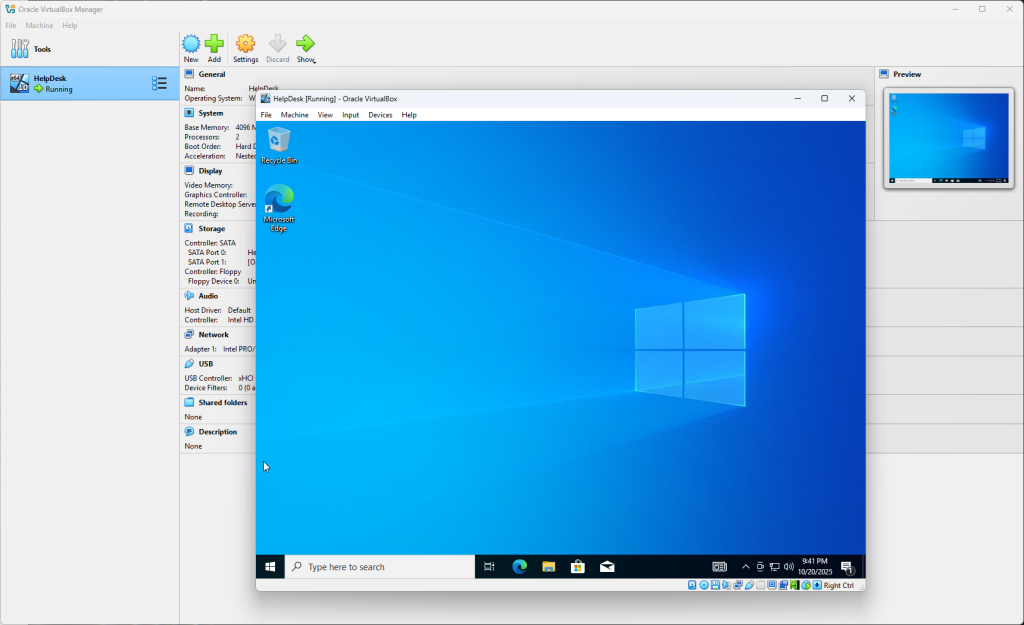
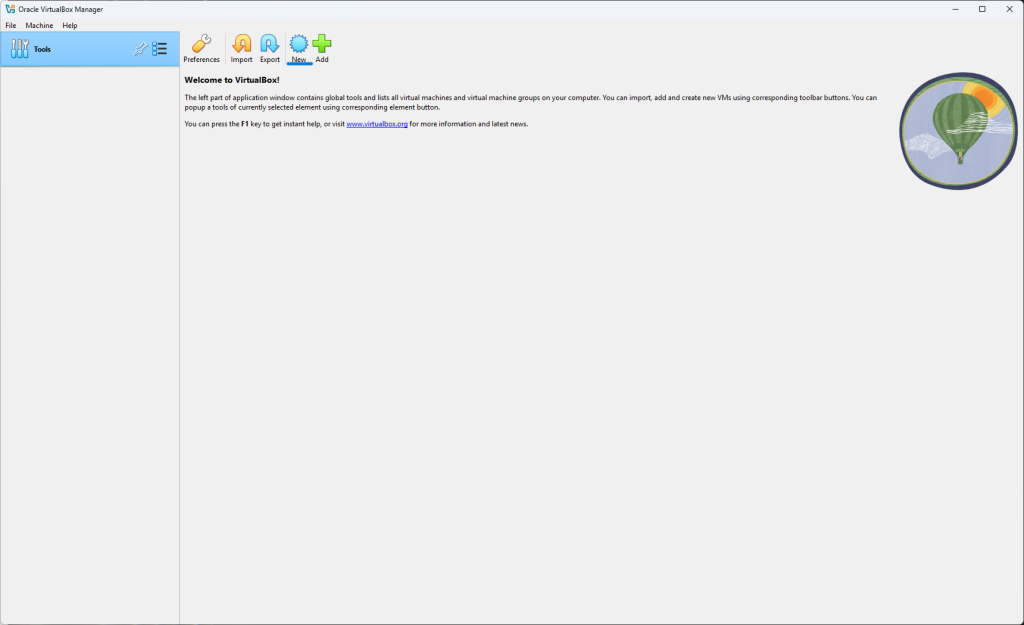
You have successfully downloaded the Windows 10 iso image. You will need to launch VirtualBox now to start creating your Windows VM. Once you have launch VirtualBox, Then select “New” at the top to start creating a new VM.
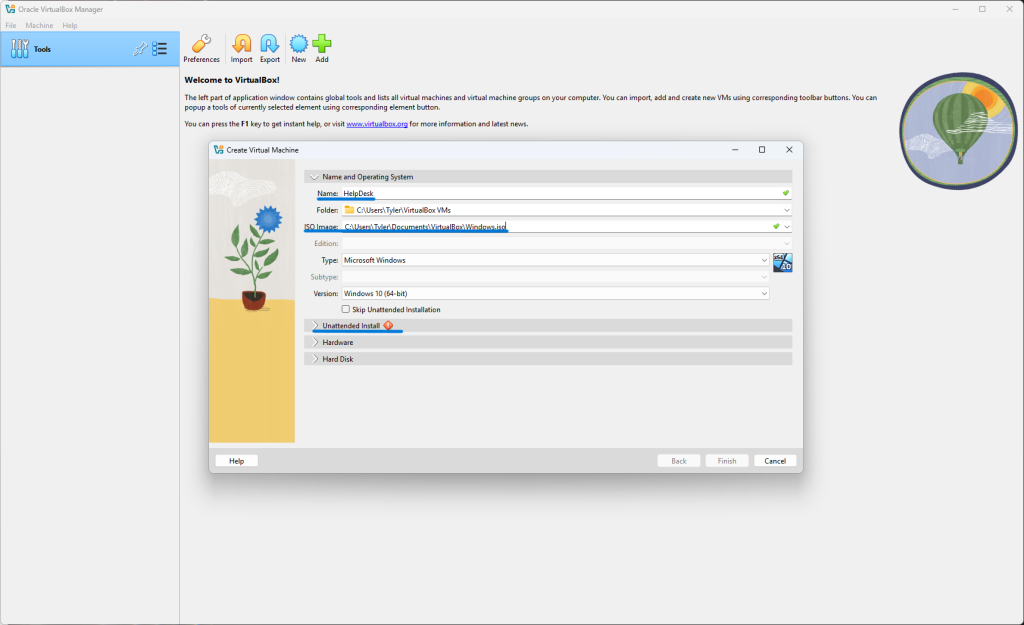
You will have the following window pop up. Give you VM a name, select the ISO file that you saved, then click the unattended install tab.
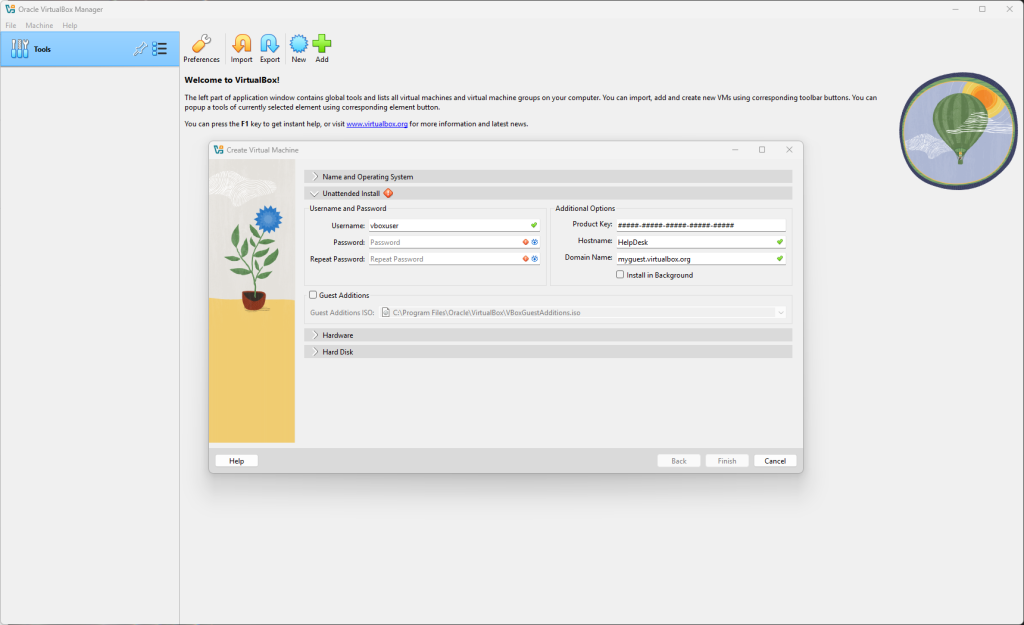
Create a password for your VM.
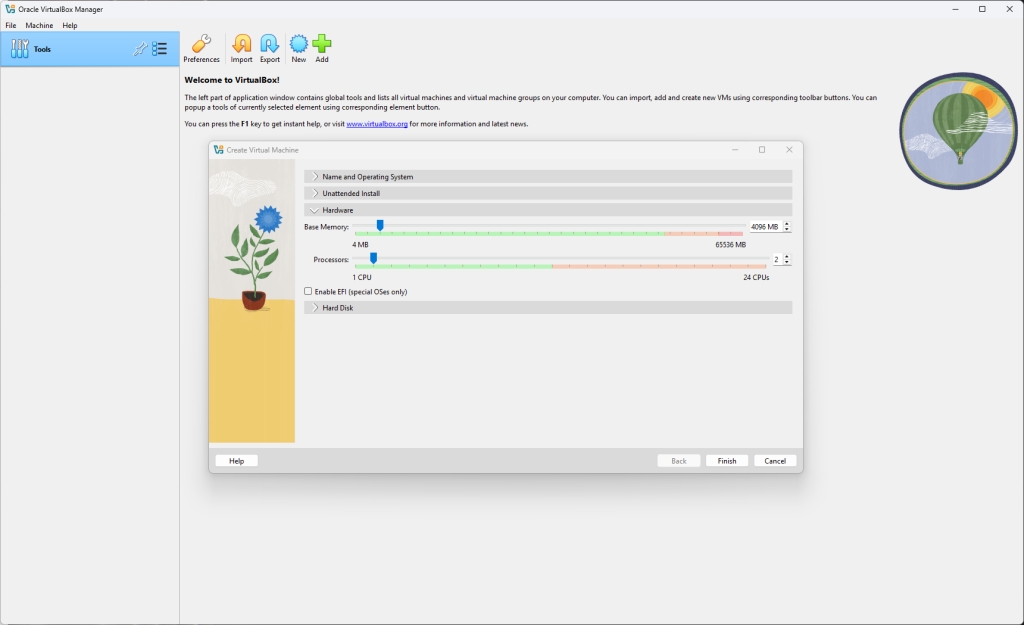
Next is the “Hardware” and “Hard Disk” tab. Remember, the VM uses your desktop’s resources. No need to go crazy on allocating RAM or CPU cores to the VM.
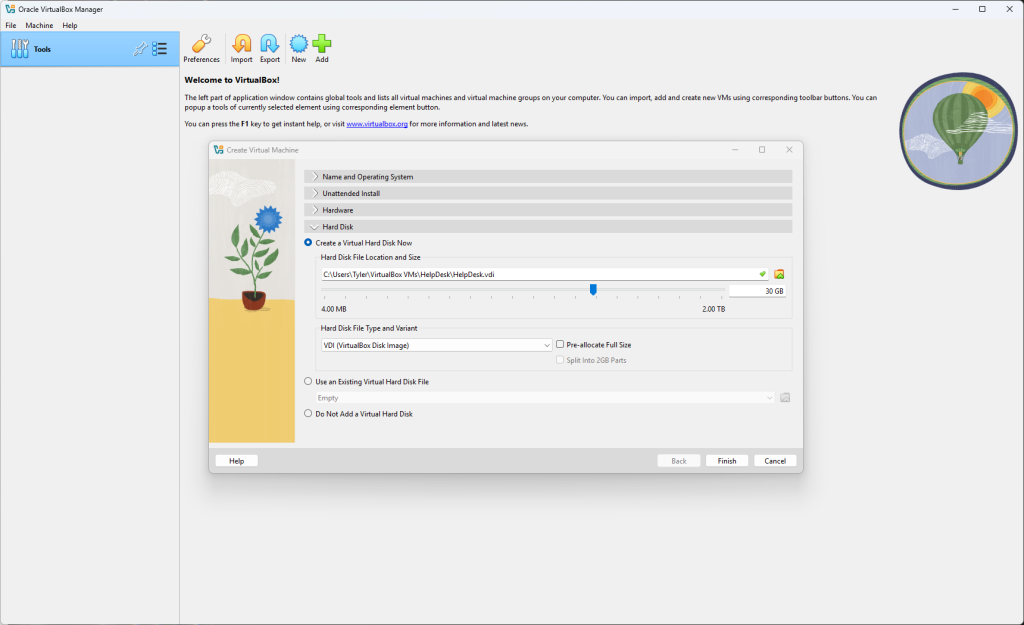
Once you hit the finish option, VirtualBox will automatically launch the VM. More than likely you will be greeted with an error. No need to panic.

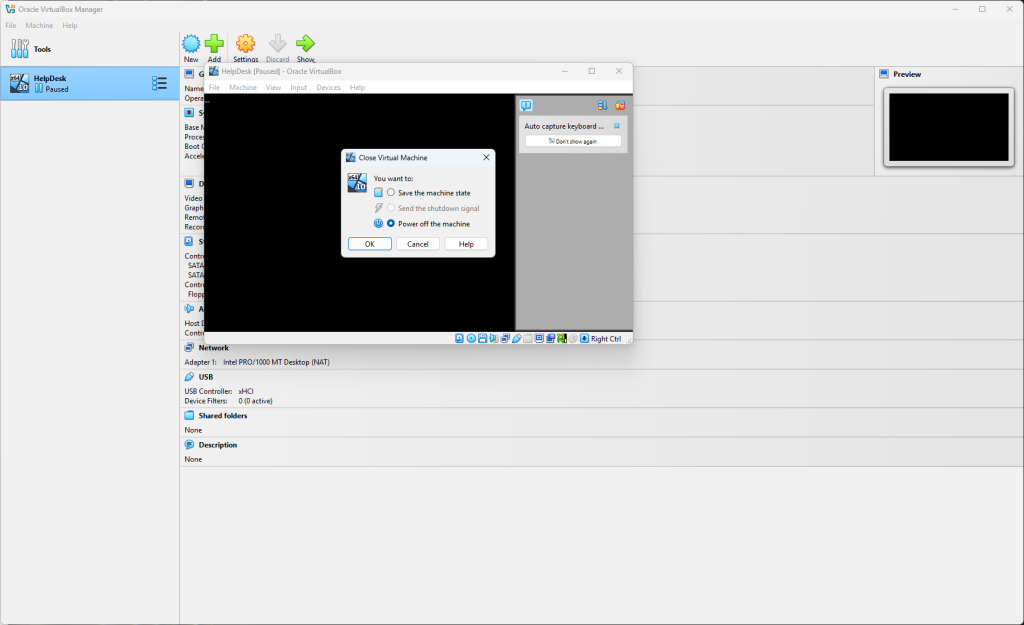
Exit out of the tab and be sure to power off the VM completely.
Our issue is in the boot order setting that “Floppy” is selected. We can change this by hitting the setting tab at the top of the window (or right click on the VM). Go to the “System” tab, uncheck the “Floppy” option, and the click “OK”.
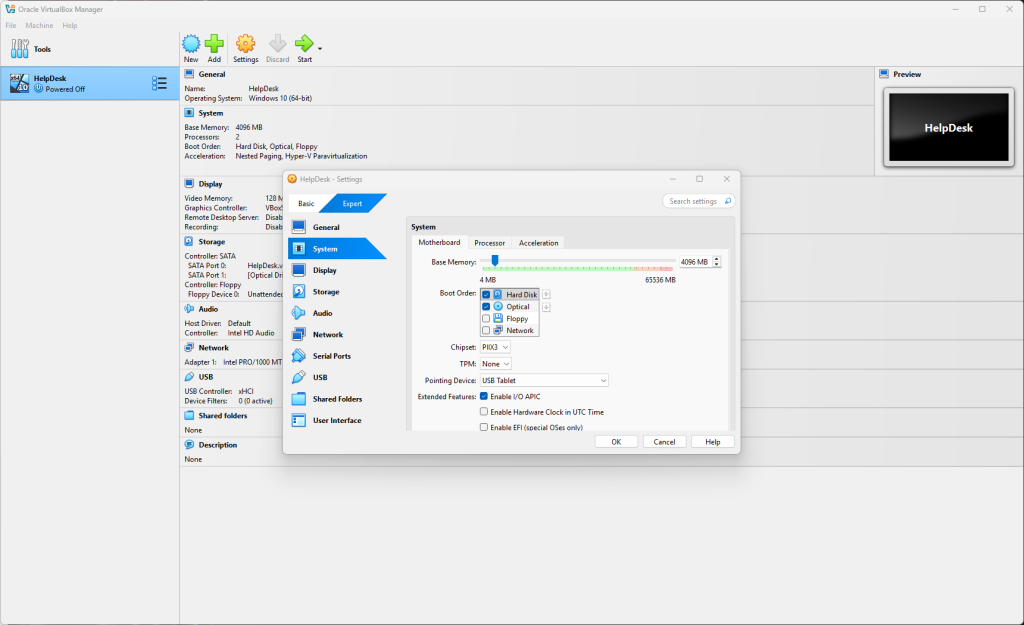
You should notice that in the displayed setting that “Floppy” is no longer on the boot order. You can click start at the top of the window to boot up the VM.
IF YOU ARE STILL GETTING A “CANNOT READ PRODUCT KEY MESSAGE”, then go to setting again, click the advance tab under “General” and copy the path to where the VM is stored.
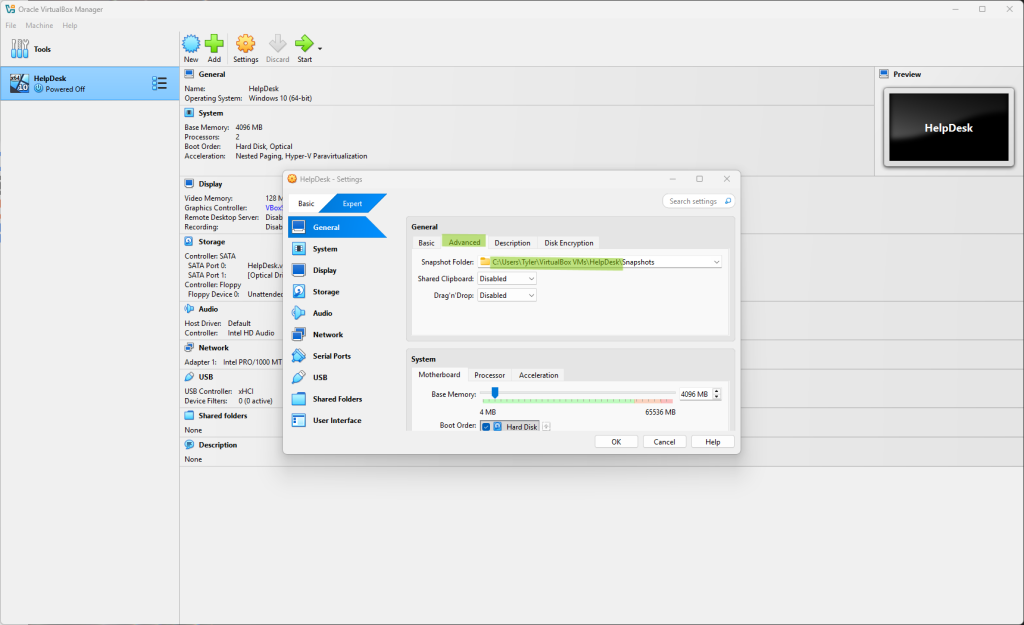
Past that into your filesystem and delete any files that start with “unattended”.
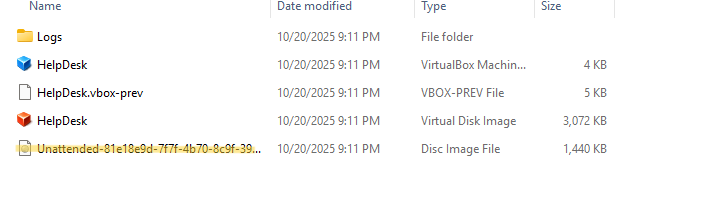
Once you have done this, you can go back to VirtualBox and start the VM. You will be greeted with a warning, but you can click “OK” and continue on. Finally, you will go through the basic set up of a Windows machine.
You can click “Do not have a product key” and continue through the steps.
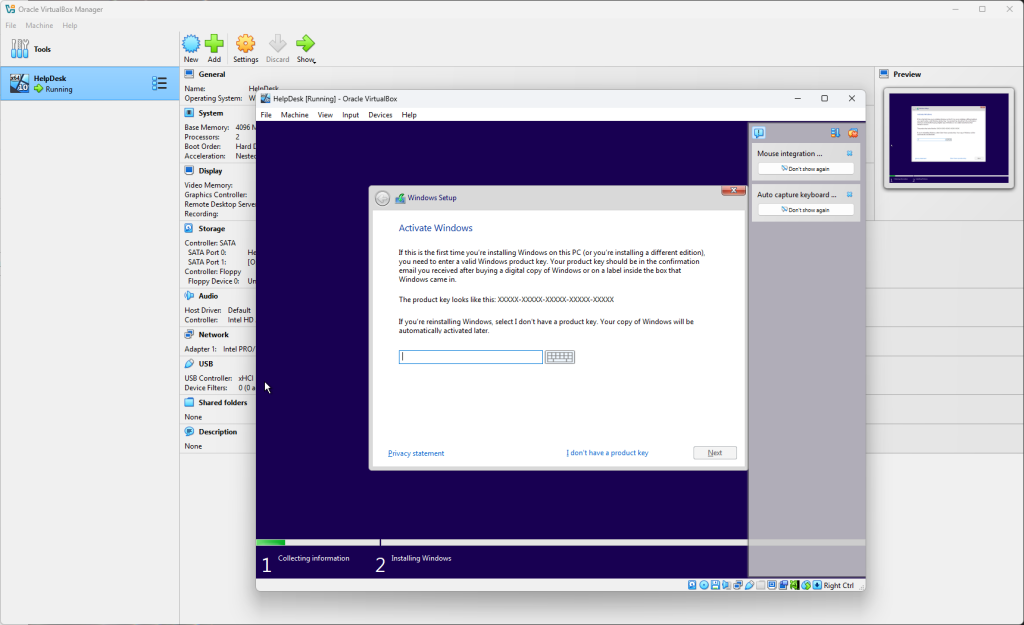
Next, choose which version of Windows 10 you would like. If you plan on using your VM for an Active Directory environment, then be sure to choose the Pro verison.
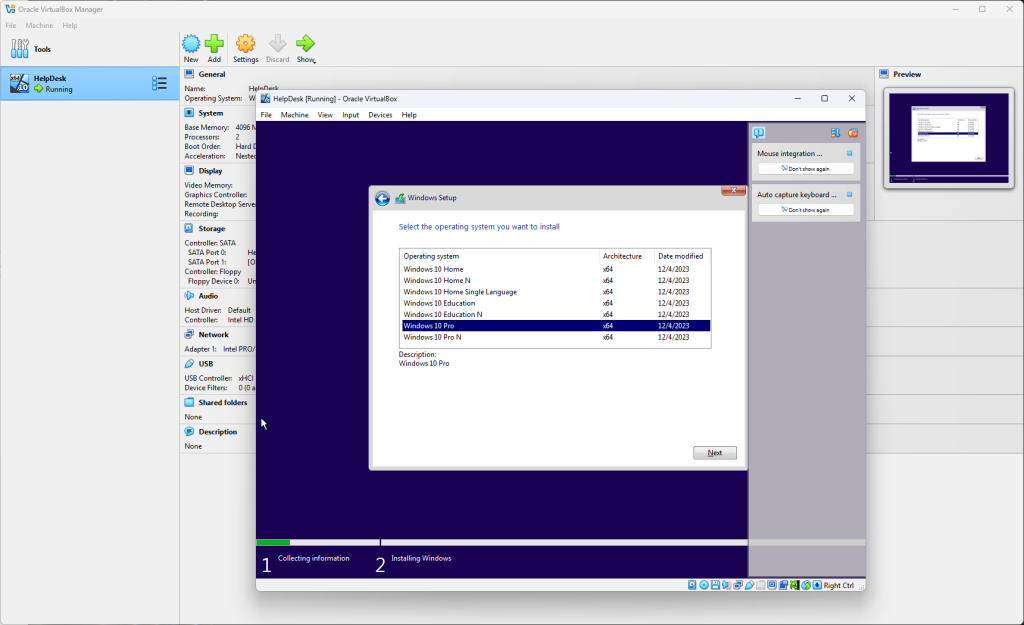
Next choose the custom install option and choose the drive that you wish to use for your VM.
The rest of the set up will take place now and this will take some time. After it has completed the set up, select the personal options needed.
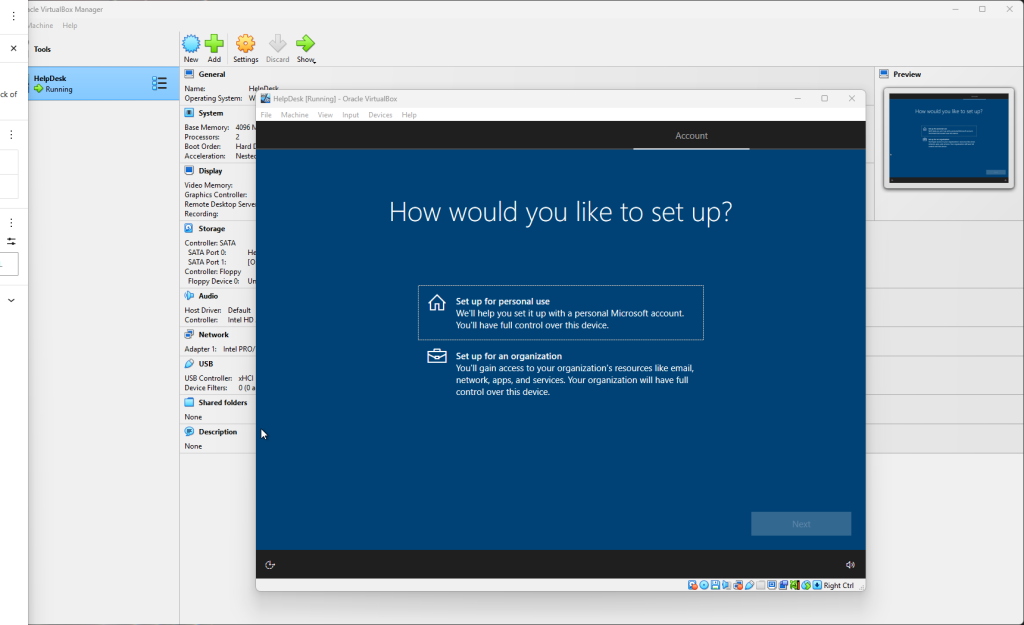
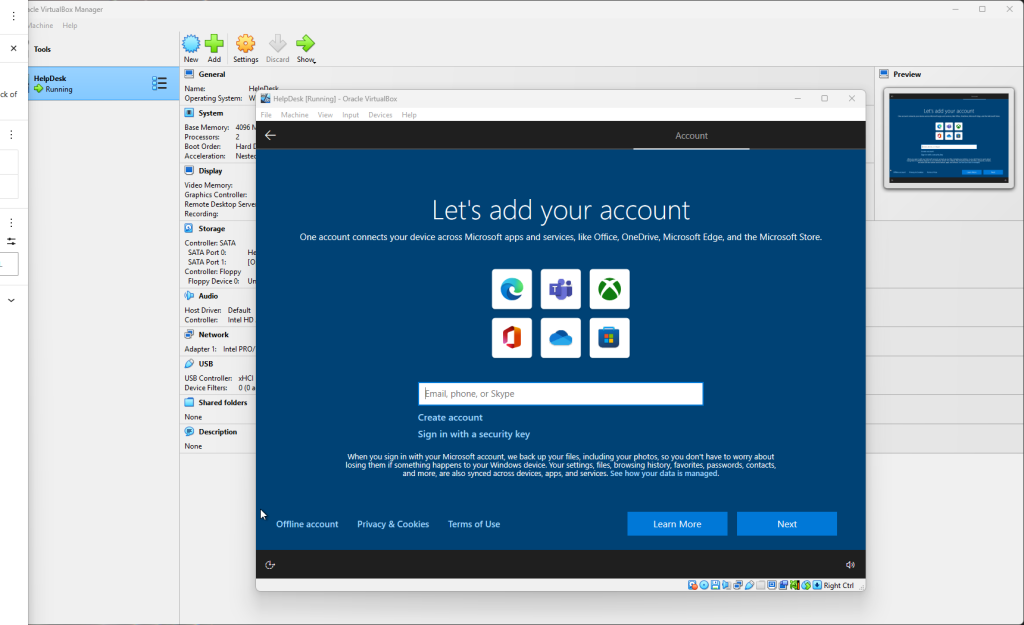
Select the “Offline Account” option
Give your profile you’ll be using on the VM a name.

After all if the additional set up options (Cortona, browsing options, etc.) You will have your Windows VM!